Announcement

Collapse
No announcement yet.

SC Coupe Restoration

Collapse
X
 
  • Filter
  • Time
  • Show
Clear All
new posts

  • Thanks for these last few posts Tom. Truer words were never spoken. Everyone has a first time. Even Bruce!

    For my part, when I first started on metalwork on a 356, it was after having taken my '58 coupe to a so-called "356 Restoration expert". What I got back was so crappy I thought hey, my amateur work sure couldn't be any worse. Now, some dozen years down the road, I'm still an amateur, but my work doesn't look half bad (well, my opinion, others might disagree). I'm slower than molasses at it. Wonder if I'll live long enough to finish any of the projects? But damn its fun! And the project posts on this forum are both outstanding tutorials, and inspire me to keep moving.

    Your posts on the hood repair are awesome. I'll be starting my own effort on the Swiss (cheese) Miss's hood in a few weeks, following your guidance.

    DG

    Comment


    • Thanks for posting those shots Tom! As David says we all went through the same learning curve. I'm still learning and sometimes repeating the same mistakes over again.
      Justin
      Justin Rio

      Comment


      • Thanks David and Justin. Great work from each of you without a doubt.

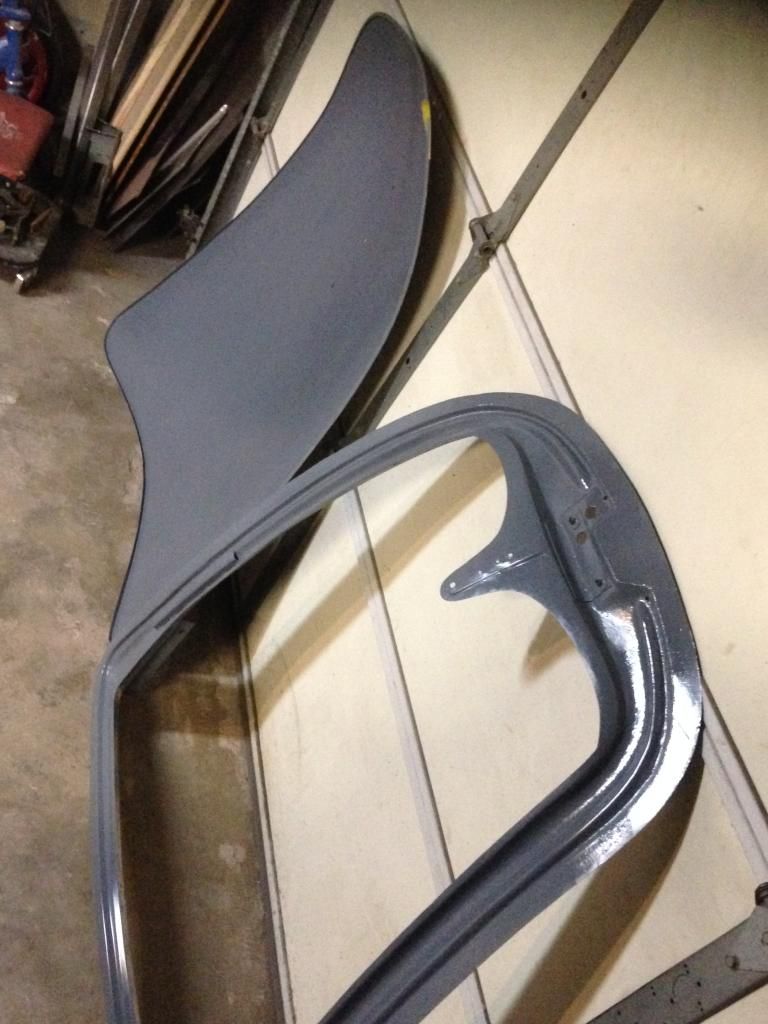
        Hood innards have been prepped for epoxy primer and then sprayed.


        I injected epoxy primer into the tunnel areas created by my gussets. Also the hood latch and hinge brackets overlapping metal seams were saturated with the primer too.

        The real reason for my post is to ask a dumb question.

        I've looked at the factory manuals and spare parts catalog and found that 28 screws are used to secure the hood seal. Stoddard also sells the screw kit of 28.

        Click image for larger version

Name:	Capture.JPG
Views:	136
Size:	31.2 KB
ID:	43137

        My car only has four holes on the passenger corner where the corner brace goes. There should be two corner braces right? One per side according to the parts catalog.

        I looked under the seal surface and couldn't find any evidence of additional holes either.

        Any experience in this area would be much appreciated.

        Another dumb question....I guess I have more than one....The open side of the seal points outward correct? I found this in the Technical and REstoration Guide. Everyone agree?

        Thank you!
        Tom

        Comment


        • Open side out. My "C" has corner pieces at both rear corners.

          Comment


          • Thank you Don. Does your "C" have screws along the side and near the nose?
            Thanks,
            Tom

            Comment


            • Tom,

              Mine has a corner bracket both sides as I rememeber? also my 356C had as well.

              My T2 also has all the screws aound the complete hood. I attach some photos that shows how the hood lays in the opening.

              Remember this, something I forgot the seal is joined together under one of the steel corner brackets!!

              Also althought he screws hold it in place, the seal needs gluing to make it look correct. I tried once without glue it did not look correct rubber moves between the screw holes and does not keep straight


              Click image for larger version

Name:	2009_0720356hoodseal0004.JPG
Views:	128
Size:	64.7 KB
ID:	43187

              Click image for larger version

Name:	2009_0720356hoodseal0004_2014-05-30.JPG
Views:	118
Size:	64.7 KB
ID:	43188

              Click image for larger version

Name:	2009_0720356hoodseal0002.JPG
Views:	110
Size:	64.3 KB
ID:	43189

              The last photo shows a drawing of my original hood screw holes from memory I did for some one else years ago. Might be of interest to someone with a T2

              Roy

              Comment


              • Tom,
                Yes there are screws going around the entire perimeter and it's also glued. Jim Kellog's book "Guide to Do-it-Yourself Restoration" shows the approximate screw locations on page 86.
                Note that in the drawing he shows the seal facing inwards which he later said was wrong, it faces outwards.

                Click image for larger version

Name:	DSCF5128.JPG
Views:	92
Size:	85.5 KB
ID:	43191

                Comment


                • Click image for larger version

Name:	Hoodinstructions.jpg
Views:	90
Size:	64.7 KB
ID:	43193

                  You guys make guys like me think and then check. All the time. I looked at a few original cars for screw positioning...and they are all different, but here's the real guiding phrase: "made by hand."

                  All I have seen have been glued AND screwed. Less screws where there is less tension in a curve and v.v. Please see that part of the instruction page.....it's helpfully ambiguous.

                  I can buy into 28, but I try to reuse what holes are in a 356 when they arrive, whatever number.

                  I have seen an original seal that was cut inboard of the 2 right corner brace screws, but all the "experts" say it's joined between the 2 outboard screws. Then again, the shop manual has that part of the seal airbrushed to not show a joint or the joint is out of the picture on the left corner. Who knows...but beware of anyone who says "always" or "never."

                  A high-level Concours judge took points off a really nice Roadster's score years back because it didn't have 16 lock washers under the 16 door hinge bolt heads, as that's what is called for on in the parts manual. I called a few guys I know who have been around this stuff as long or longer than I have and asked for their experience with original cars. All said they had seen some with and some without all 16 washers and came to the conclusion that the assemblers did not install a few when there was a door hinge clearance or fit problem and thus no points should have been withheld if they were painted body color, clean and 14mmATF of a consistent brand.

                  Just know there were no two 356s EXACTLY alike, so get the cars done and drive 'em! If you don't, the hood seal isn't the only thing getting screwed.

                  Comment


                  • Thank you Don, I owe you one. I wonder if the factory was lazy on my cars build date? The holes just aren't there. I will add them. Thank you Roy and Bruce also. Loved the story about lock washers and being screwed. Have a great weekend.

                    Comment


                    • Tom, I find the holes easily by wounding the tip of a finger, passing it along up under the ledge of the gutter. Either they were punched or not de-burred after a quick drill, I don't know, but if that area is original and there were holes, you'd feel them.
                      Most original 356s have a depression where the screw hole is, making it seem that a sharp awl was used and not a drill.

                      The screws in the kits are somewhat weak, so just the right diameter drill is needed through those layers of sheetmetal or they break off if that's how you do it. Maybe that's why you have fewer holes...the apprentice was learning and afraid of making a mistake.

                      Then too, I have been on various factory tours, including Porsche in the '60s....and would NOT want a car built on Monday morning or Friday afternoon....witnessing a lunch that included one or two liters of beer was bad enough.

                      -Bruce

                      Comment


                      • Yes, seal definitely opens to the outside. To Bruce's point on where the joint is positioned:
                        Click image for larger version

Name:	356238.JPG
Views:	104
Size:	69.6 KB
ID:	43217
                        My restorer buddy here in town says the joint is always located under the right side corner clamp. This was a black C cabriolet he was finishing up.

                        Click image for larger version

Name:	356239.JPG
Views:	95
Size:	62.5 KB
ID:	43218
                        According to him the joint was found most often than not between the inner first and second screws. He says he's gone rounds with concourse judges on this detail, some of whom agreed and some who did not. Like Bruce says they could not ALL have been in exactly the same spot. More trivia to confuse you Tom!
                        Click image for larger version

Name:	carrera1246.JPG
Views:	98
Size:	55.0 KB
ID:	43219
                        For my car I just followed his lead; what do I know?
                        Justin Rio

                        Comment


                        • What do you know?

                          You may know that maybe the joint of the seal was done after the lid was on if it's done where it's more obvious? To be less obvious and discreet, the joint made between the inner 2 screws just 'looks' better.

                          Like so many things on a 356, 'improvements' can be made if more time is allowed now than Factory assembly allowed back then.

                          A bit iconoclastic, I know.....but it's nice to not be alone in that regard.

                          Thanks,
                          Bruce

                          Comment


                          • Interesting Bruce, so at the factory the seal was installed after the hood? This in turn would created the need to have the joint between the lower screw pair? Have to have one stubby screwdriver to get the ones to the inside of the hinges...
                            Justin Rio

                            Comment


                            • ".....at the factory the seal was installed after the hood?"

                              No, I doubt that the hood was on when the seal was installed, that was a farcical comment, but I have gotten seals OFF without removing the lid, occasionally removing the screws first.

                              'Most' original hood seal joints are found on the outer end of the corner 'boomerang' brace. Maybe a re-re-reviewing of the sleep aid "Made by Hand" is in order? My point is that joint is visible, so there must have been a reason for the Factory to make it there.

                              The workshop manual tells us to remove the hood to replace the seal and to check the (hinge to hood blade)alignment holes drilled just for that car after it's final adjustment....so it was repeatable if the car was kept complete. Now......hardly any original adjustment holes are worth keeping. They get welded closed and redrilled when all the refitting is complete, the car is painted and the seal is reinstalled....then the new holes will get you close.

                              Regards,
                              -Bruce

                              Comment


                              • It's really almost impossible to install the hood seal with the hood in place. Stubby and right angle drivers can barely be made to work. FWIW, one out of 20 cars needs to have the holes welded and re-drilled on the left coast. And drilling welds is tough, particularly when the OG hole on the 2nd layer is intact, forcing the bit to wander off center and snap in the hole (more common in the rocker area). Now, that's a problem. RE: gasket split location. Always on the right side, but sometimes anywhere between the 4 screws. FWIW, I have nowhere the experience of BB dealing with rusted out stuff. He's my hero. I'm not kidding. Bruce, fly trans love airways. Always gets you there on time. http://www.youtube.com/watch?v=023ENkCFupY
                                Jack (analog man from the stone age)

                                Comment

                                Working...
                                X