Announcement

Collapse
No announcement yet.

SC Coupe Restoration

Collapse
X
 
  • Filter
  • Time
  • Show
Clear All
new posts

  • Nice repair Tom. I need to do that same repair on drivers side of Foamcar. Passenger side will get new part that already has a good hole.

    Phil

    Comment


    • Same here. Our cars are remarkably similar for living so far apart

      Comment


      • Originally posted by foamcar" post=18368
        Tom

        Where is Bruce when we need him. I know he is on a short road trip, so maybe not checking this forum till he gets home. Anyway, I did some googleing on annealing and inconclusive results. One says metal must be blue, another says use a Sharpie on the bend and heat until the mark disappears. But, my experience is limited to short sections, not 4 or 5 feet of heating with more potential for distortion. Fixing any cracks might be the safe way to go. After all, how hard is it after just one bend close and open. Also, not sure if it would be possible to open up just the rear hood flange to flat(180) and just open the remainder of the flange enough to be loose and slide the hood forward off of the frame. Contour may prevent this.
        You guys are doing just fine. In fact, I need your progress pictures to keep raising my own (theoretical) bar. Real-world commercial restoration rarely allows for such finesse, but good work is good work regardless of time spent. It's what can be charged for 'reasonable' hours assuming a restorer is already competent. Only medical people and a few other areas of expertise get to call their workplace a 'practice.'

        For edge annealing, I just hit the angle inside the bend with a 00 tip on the small torch. If it happens to shrink a little, hammering the edge back over stretches the metal a little and it's even. If there is a small crack when finished, yes it can be welded...but it should not crack from careful opening unless it's original manufacture was over-done.

        Yes, Tom, annealing is VERY technical if you want it to be, but the intent is to 'relax' the stress of changing the metal's molecules yet again, and steel is easier when it's thin enough for ambient air cooling. I have a big container of ash for thicker annealing and a bucket for water, too. It's about oxygenation leading to crystallization within the process, but for what's going on with the repair of a 356, little of that technical info is needed.

        The most common annealing for a 356 is with aluminum, like "GT" bumper extrusions or early engine lid grilles. Those are 'smoked' or coated with the black soot of a pure acetylene flame, then O2 is added to make a mild flame (more white than having a small hot blue cone right out of the torch tip) and heating the aluminum with constant movement until the soot burns off...then the metal is 'dead soft' even in open (ambient) air...no blowing on it with compressed air or using water....maybe thrusting the piece in the ash for a few minutes may help.

        Welding supply houses have heat crayons if you want to be more precise and know what heat is best for the thickness you are working with, but I adhere to the Whiskey Tango Foxtrot method with far less than 5 minutes with a torch all the way around just getting it 'medium well.'

        Here's my personal experience with the unfolding. The return must be 90* all around and a thin spatula needs to be able to get to the edge of the outer metal to be sure no spot weld is either missed or incompletely eliminated. No force should be needed to remove the inner frame from the outer skin, they should just lift apart.

        Tom, very nice TIG work. Mine should look that good (some does, but not all). I like the rotisseries I have, in fact much more as I get older. Enough of the hanging upside down like a monkey building a roll cage for a race car using my knees for the pedal action. I used to thank heaven for 4130 and how well it welds!

        -Bruce

        Comment


        • Originally posted by tperazzo" post=18413

          Someone has already welded on this area before,
          Tom
          Really? Where?
          Jack (analog man from the stone age)

          Comment


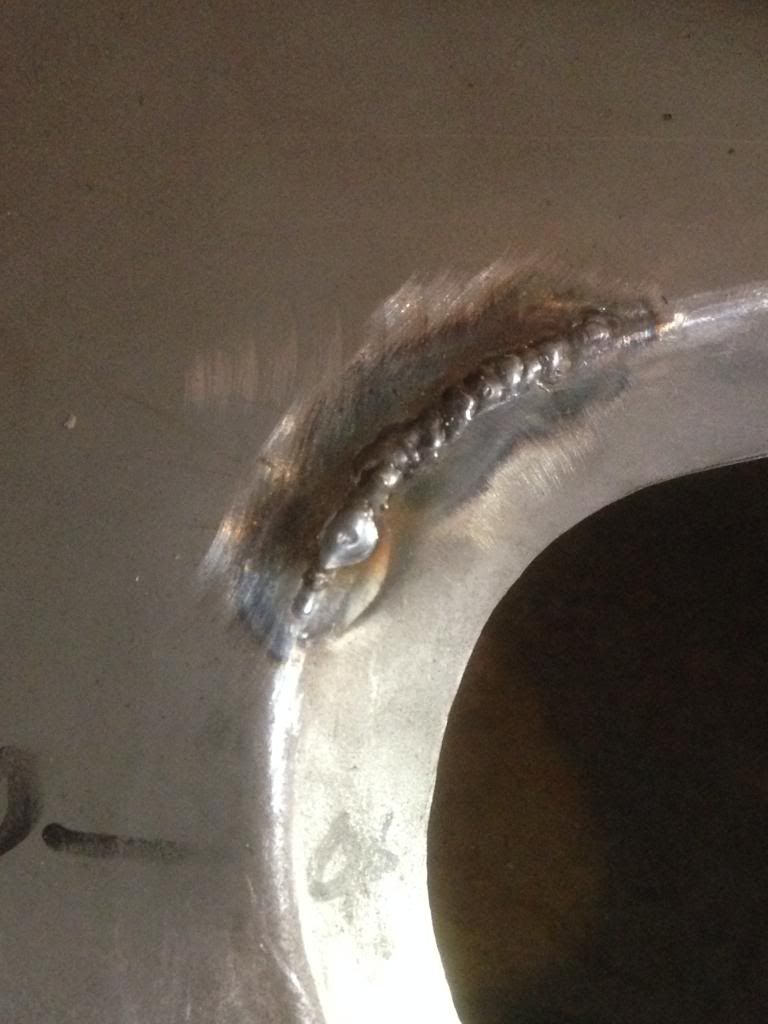
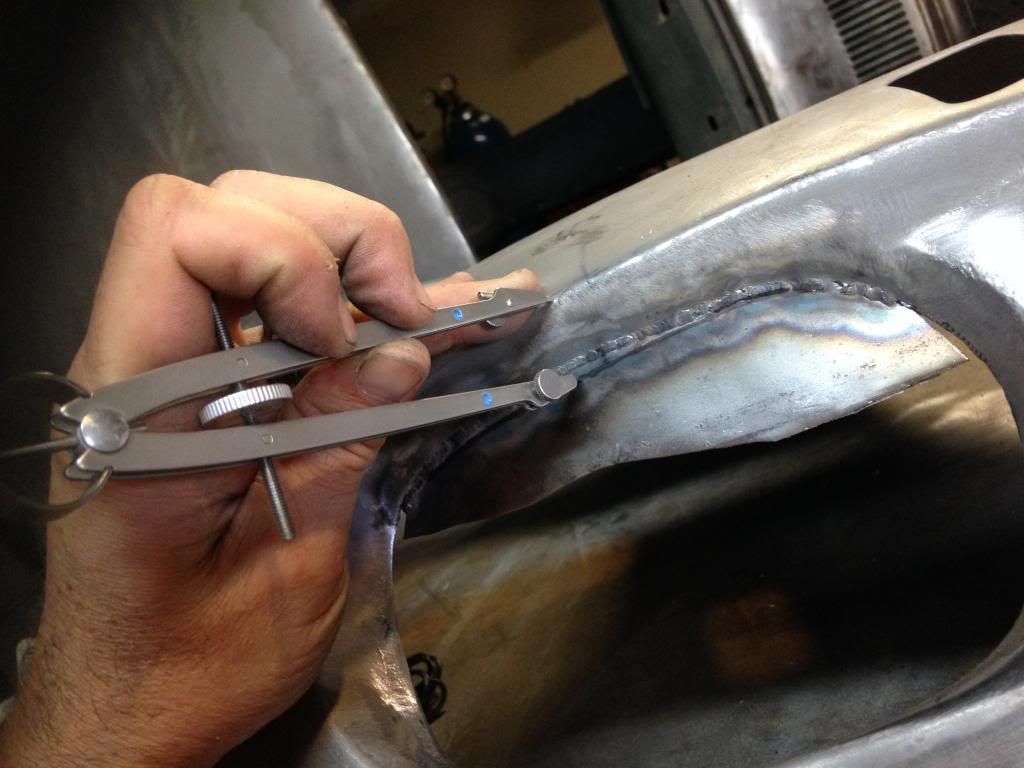
          • Tom, I saw that you welded a nice patch on the wiring tube for the headlight. I have had significant difficulties in this area from other peoples work. The tube is just barely large enough to fit all of the wires thru there, and any kinks, flashing or burrs can can tear the insulation resulting in intermittent shorts or make it impossible to pull the loom thru. If you can, try to feed your wiring thru, just to verify that all is OK.
            Jack (analog man from the stone age)

            Comment


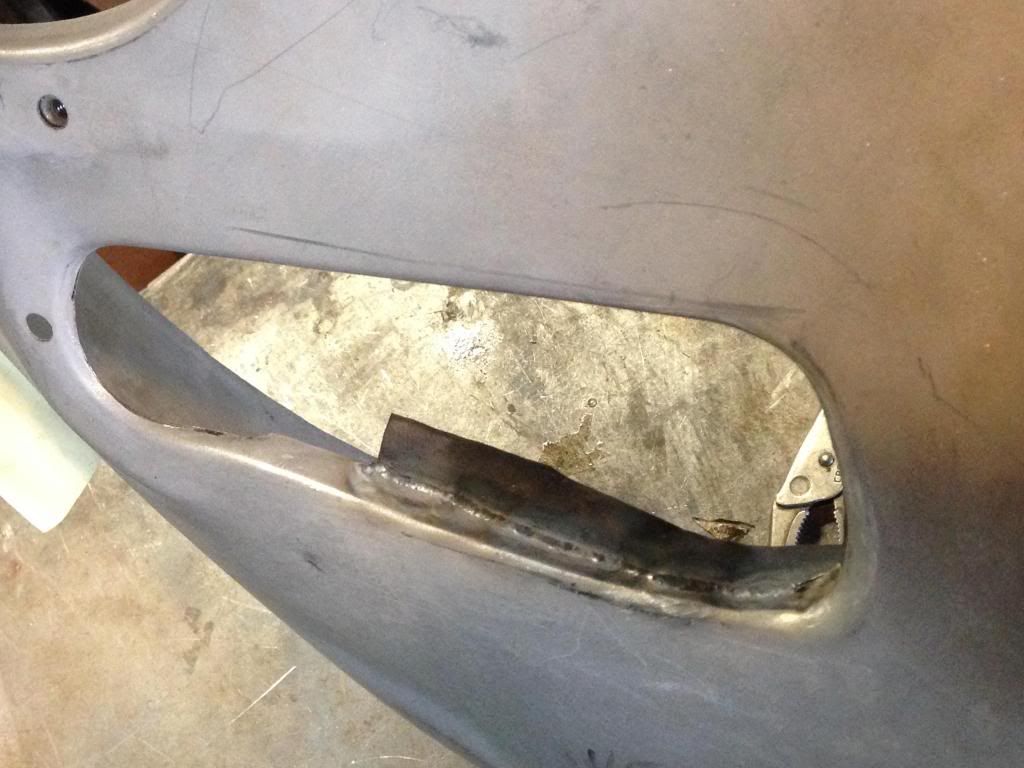
            • Tom, Nice job on that bracket hole repair! How did you cut those nice radius corners; did you file shape them?
              Justin
              Justin Rio

              Comment


              • Originally posted by Jack Staggs" post=18426
                Originally posted by tperazzo" post=18413

                Someone has already welded on this area before,
                Tom
                Really? Where?
                Hi Jack,
                Its hard to see, but my guess is that the bumper took a hit from the side forcing the brackets into the sheet metal. This ripped open a larger hole on both sides of the same hole. (Not sure why both sides were affected?) So the previous welds match up with the height of the bumper bracket and run horizontal maybe 1/2" each side. Everything was kind of mangled, so I thought it was easiest to make a larger repair, instead of adding a few mini patches and trying to weld on the edge of the hole.
                Thanks for the heads up on the wire conduit. I will find the harness and try to get it in there. An idea popped into my head to attach a 1/4" wire cable to my drill and try to clean out the inside of the tube and maybe deburr my repair before I trash the factory wiring. You've probably had to do something similar? Thanks again for the advice, keep it coming!

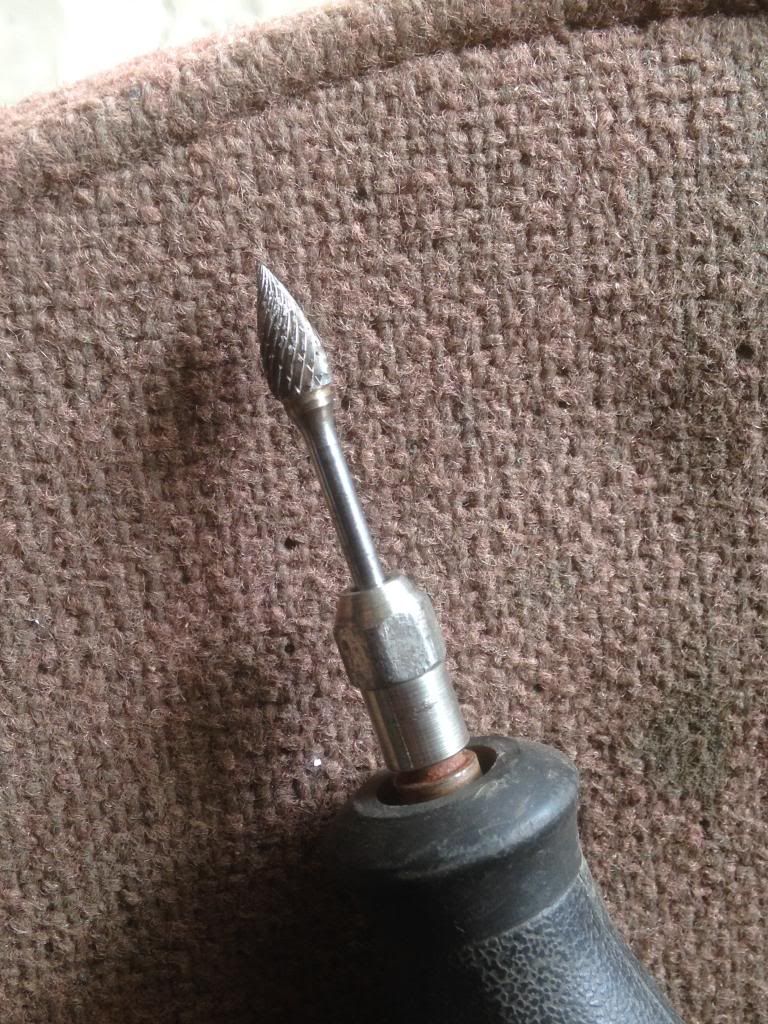
                Justin, it looks like you have been making some nice oblong holes for your bumper mounts. My tool of choice is this:

                Largest diameter is about 1/4" on a 1/8" shank. Carbide burr from McMaster carr p/n 8175A91. It works pretty fast, but watch out for tiny metal splinters.

                Comment


                • Tom,

                  Just checked back 3 pages or so on your thread. Interesting pages especially on the annealing info and Bruces confirmation. Liked your repairs by the way,very neat.

                  I thought I had made a repair on the headlight bucket struts myself but no,it was the struts at the back of the rear fender. These take the full forces of dirt and much from the rear wheels. I reinforced the rear strut that attaches to the body.

                  Click image for larger version

Name:	2012_1057wingbrace5_2014-05-08.jpg
Views:	91
Size:	85.6 KB
ID:	41886

                  So as it took me some time to locate the photo of the front I attach and will look for the rear strut later.

                  Roy

                  Comment


                  • Whew, real work got in the way and then I went to do some fun work on Sunday and the welder was out of gas! Deserved punishment for not following my own advice by doing a little bit each day? Surely, it was.

                    Today was spent tuning up my reproduction nose.


                    Above is a better aluminum template based on Phil's nose and my original accident free drivers side. This highlights the upper left corner again.

                    Below shows the cut I made.

                    When the gap gets big, MIG is the clear winner.


                    Just filler up!


                    Remember the lower corner was off too, but not too bad.


                    Slice and dice.

                    Also hammer and dolly action needed to flatten a strange lump shown several pages back.

                    Better picture with template showing improvement.


                    Also more hammer work to sharpen the bend shown below. I'm trying to make it match the original passenger side as best I can.


                    I did more work to the cutout too, that I'll need to show soon. Thanks and please stay tuned.
                    Tom

                    Comment


                    • Hi Tom,

                      I came up with an idea for welding the tube for the headlight electrical wire. Take a copper pipe and cut it lengthwise. You can then make it smaller or larger to fit inside the electrical conduit. This will prevent the weld slag from getting inside the conduit. Don't know if anybody has tried this before but it should work.

                      Things are looking great. I may have to borrow your nose cut out templates when I redo my nose.

                      Good luck.
                      John
                      jjgpierce@yahoo.com

                      Comment


                      • John
                        I used your idea to repair a bad j pipe several years ago. ESP I guess.

                        Click image for larger version

Name:	IM001685.jpg
Views:	88
Size:	44.2 KB
ID:	42518

                        Click image for larger version

Name:	IM001686.jpg
Views:	89
Size:	70.9 KB
ID:	42519

                        Click image for larger version

Name:	IM001687.jpg
Views:	81
Size:	67.8 KB
ID:	42520

                        Click image for larger version

Name:	IM001688.jpg
Views:	95
Size:	49.8 KB
ID:	42521
                        And nice work on those openings Tom. Don't know if I would have even noticed the difference from original.
                        Phil

                        Comment


                        • Very cool, Phil. I like how you held the copper in place with the wire.
                          jjgpierce@yahoo.com

                          Comment


                          • You are a true perfectionist Tom! Most guys would not concern themselves with areas so close to the ground you setting a great example to strive for! Keep up the great work!

                            Really clever repair on that header Phil! I will keep that in mind for future reference! Thanks for sharing! Justin
                            Justin Rio

                            Comment


                            • Thanks guys. John you can borrow the nose templates anytime. They are sitting in my file cabinet. I found the box with headlight wiring, but I haven't tried to stuff it in yet. Great idea about the copper back up and even cooler that two great minds think alike. These forums really are about sharing good ideas/tips and I thank all of you for that.

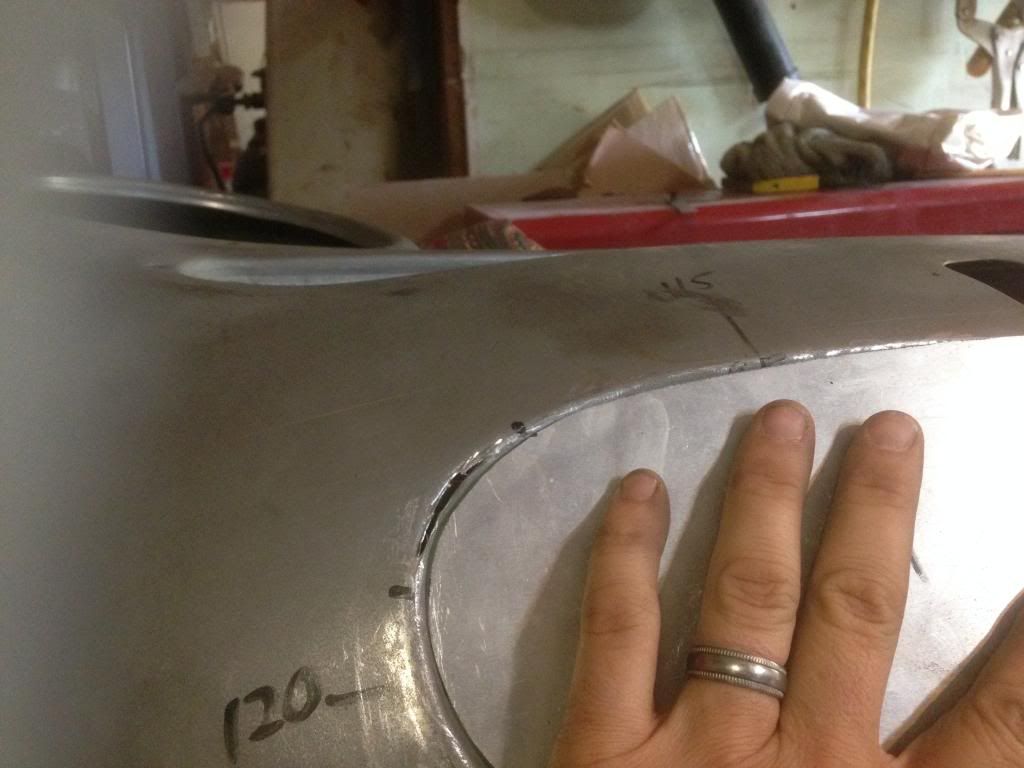
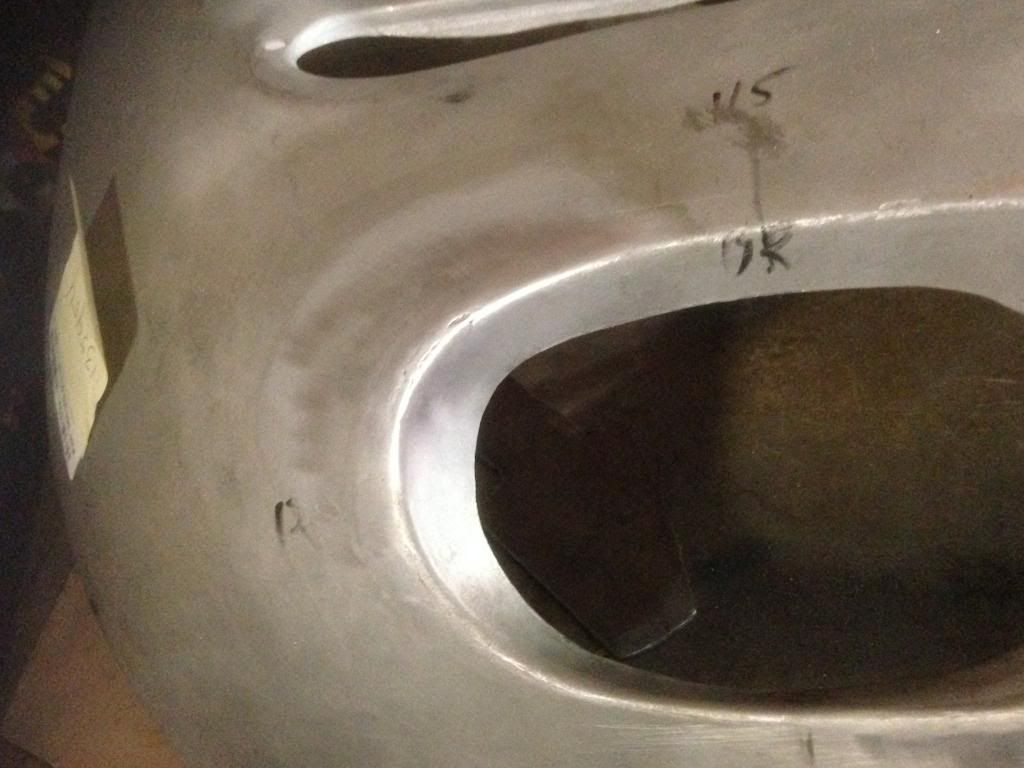
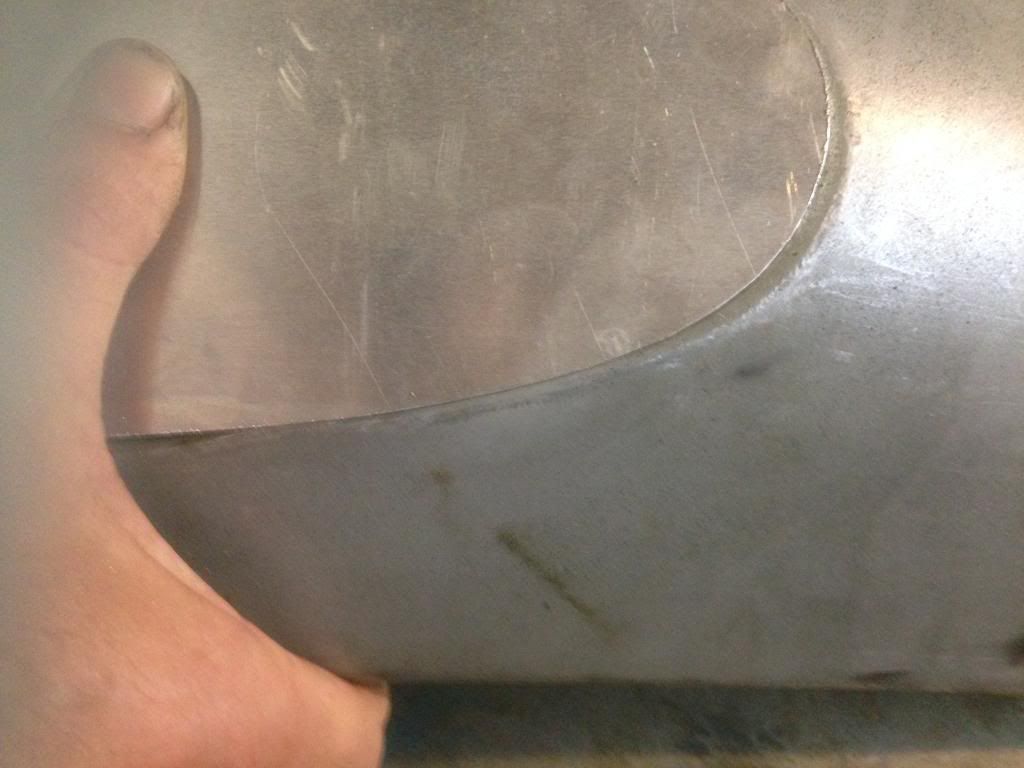
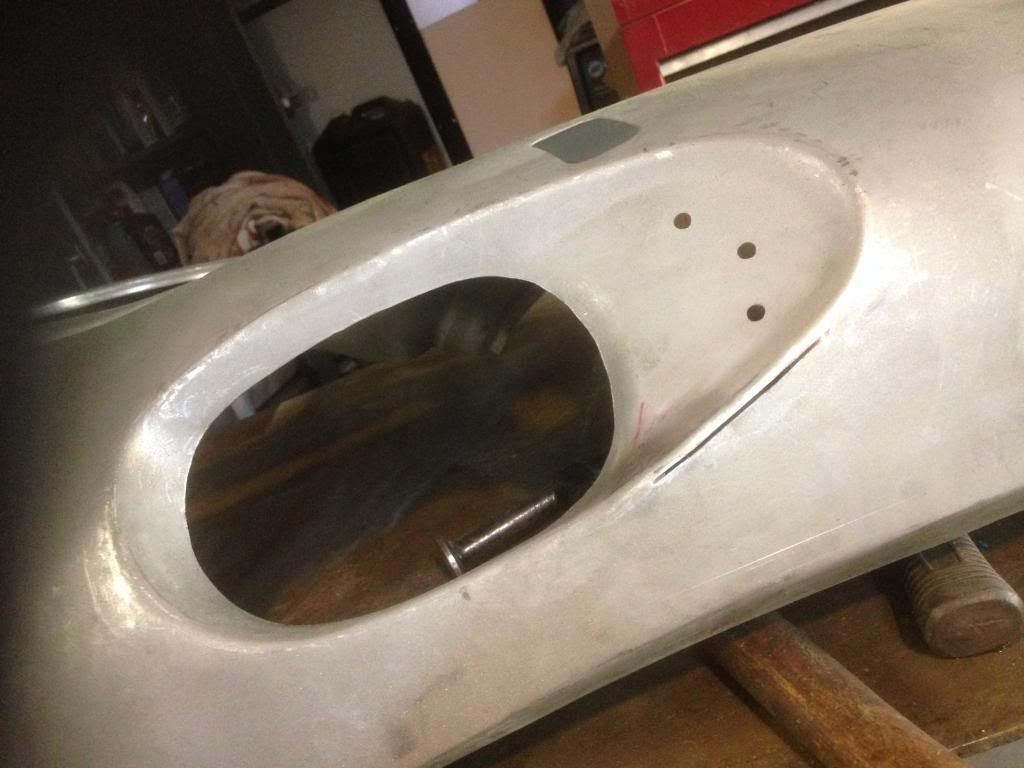
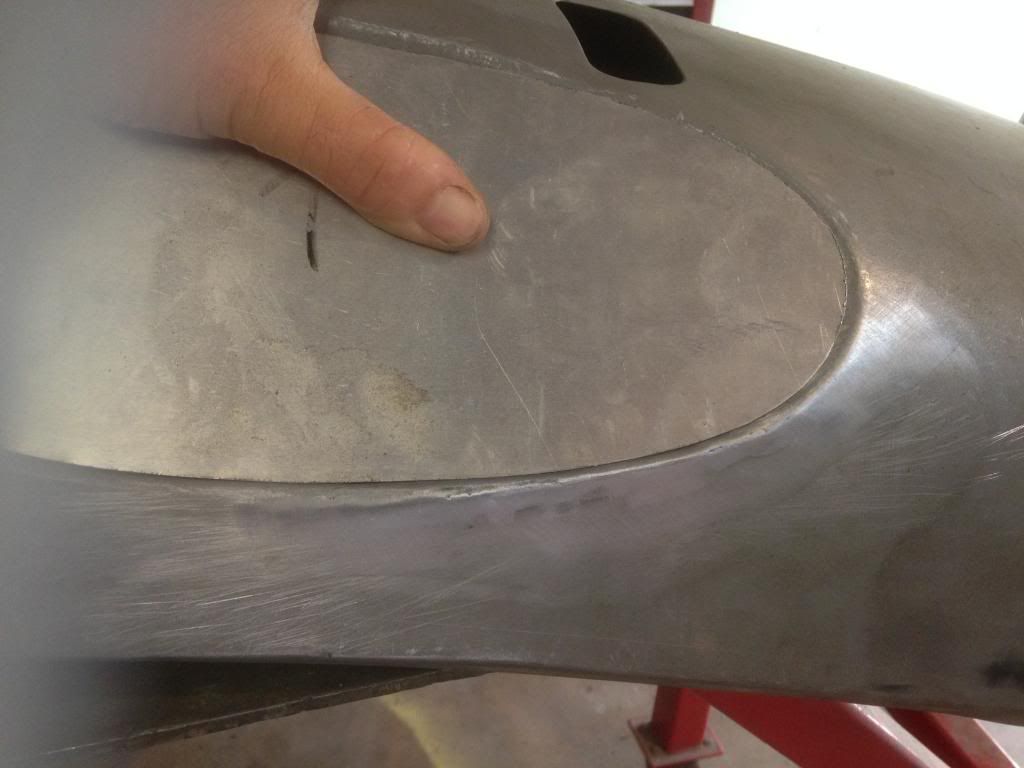
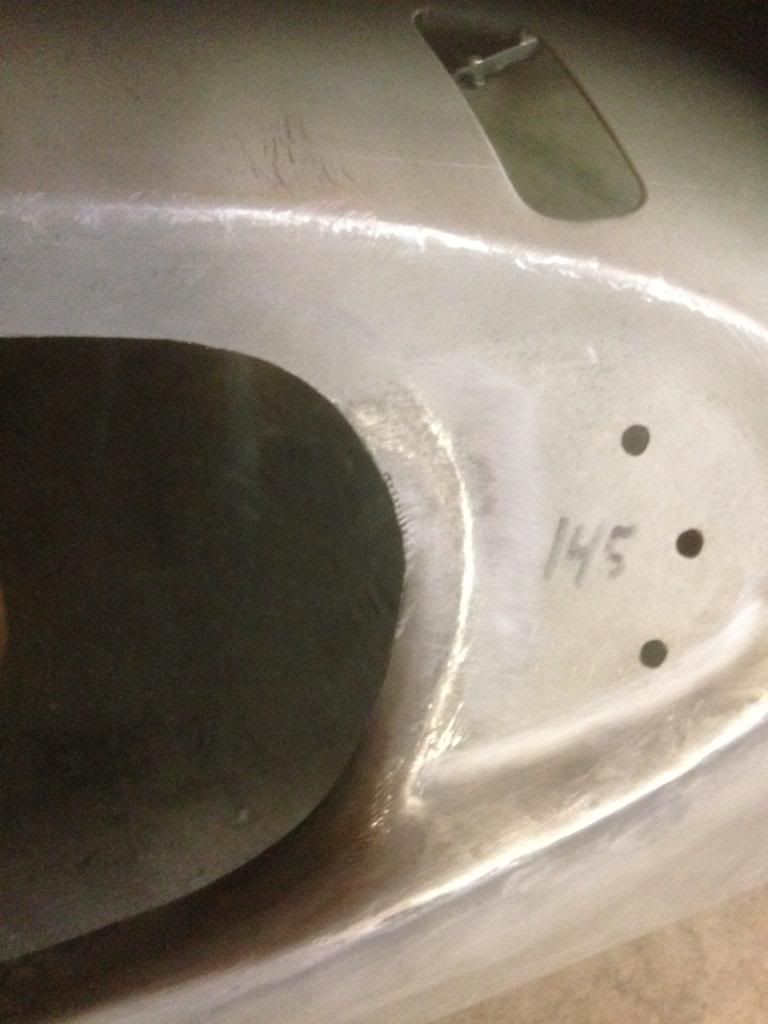
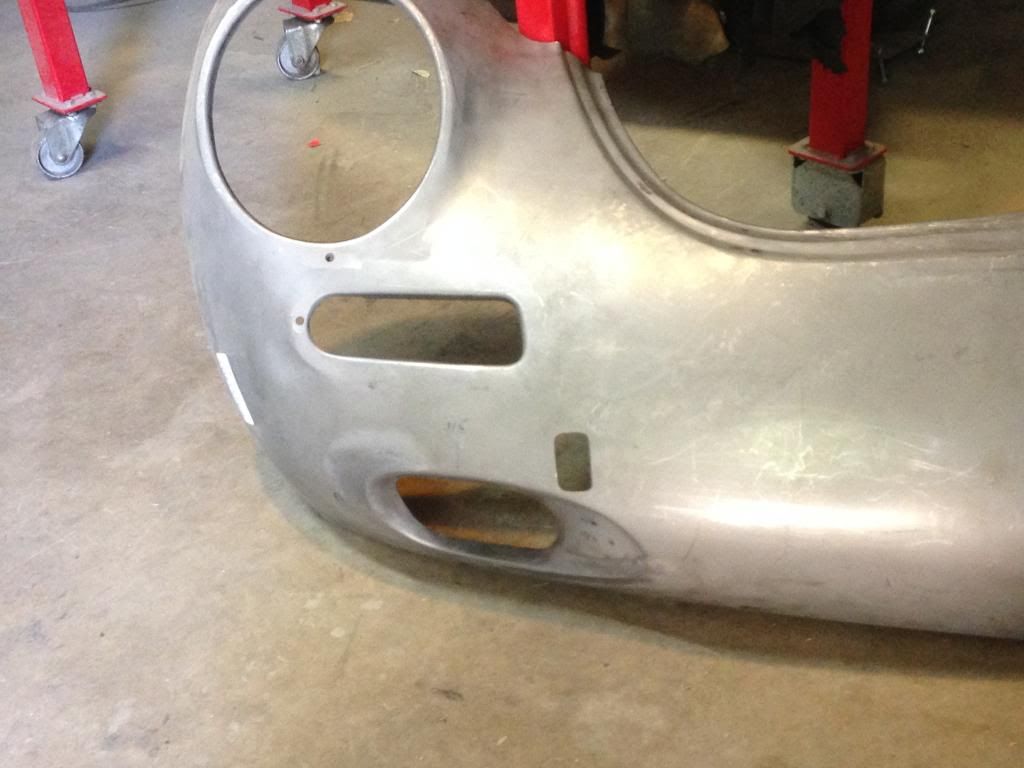
                              Perfectionism seems to creep into my head all the time. For instance here's the rest of the nose mods. Some are definitely more detectable than others, but I tend to agree that no one is going to say, "wow those are nice holes in your nose". Kind of personal isn't it?


                              All of the angles and flange depths have been "adjusted" to match the other original side. Boring, but it didn't take that long to make it right.
                              Tomorrow will take me back to the meat and potatoes of this project....re-skinning the hood and fitting it to the car.

                              Keep your fingers crossed....
                              Thanks
                              Tom

                              Comment


                              • Tom, your talents keep amazing me. Thanks for sharing these great pictures. Look forward to the next installment.

                                Best,

                                Joris

                                Comment

                                Working...
                                X