Announcement

Collapse
No announcement yet.

SC Coupe Restoration

Collapse
X
 
  • Filter
  • Time
  • Show
Clear All
new posts

  • I've been busy with other projects,so no progress on Foamcar, but am following the other projects here. I replaced the hood seal on my 55 by using a tool out of my gunsmith screwdriver set. It is a small ratchet that a short Phillips or flat blade bit fits into. With the hood open(of course) it was pretty easy to remove the corner screws. The bit is knurled on one end, so makes it easy to press down onto the screw while turning the ratchet handle. Can post a picture under Tools if this was not clear.

    Phil

    Comment


    • Originally posted by Jack Staggs" post=19248
      ......Bruce, fly trans love airways. Always gets you there on time. http://www.youtube.com/watch?v=023ENkCFupY
      Jack, doesn't flying Trans Love require some sort of operation?
      Not to seem naive, is the below the source of the pipes they sing of loading in the clip you provided?....I know in the '60, that sound they make got ME high! (Not Momma Cass!)

      Click image for larger version

Name:	EEEcatelogue.jpg
Views:	86
Size:	101.8 KB
ID:	43339

      Comment


      • Thanks for all the good hood seal info guys.

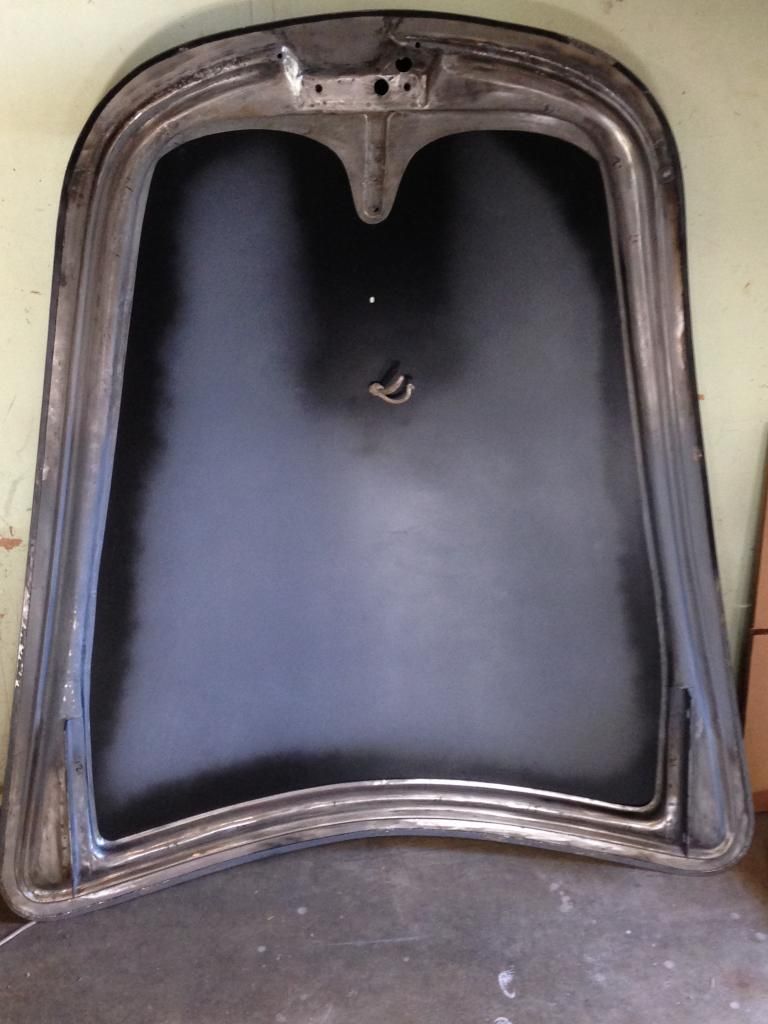
        My frame and skin have finally been re-married.

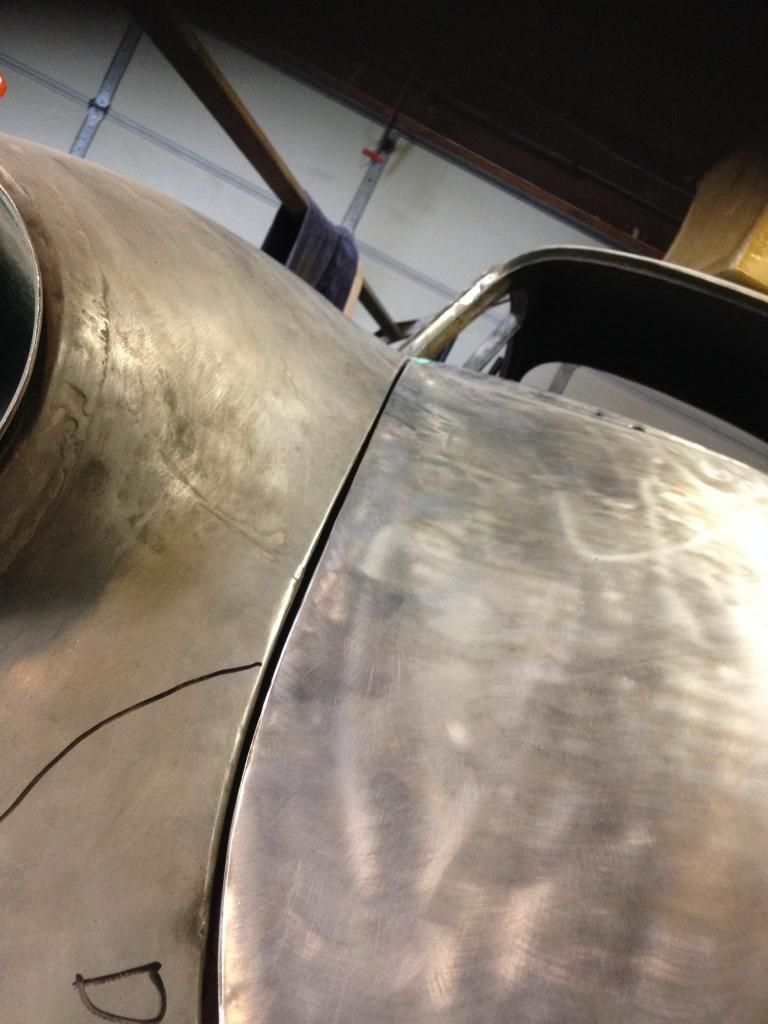
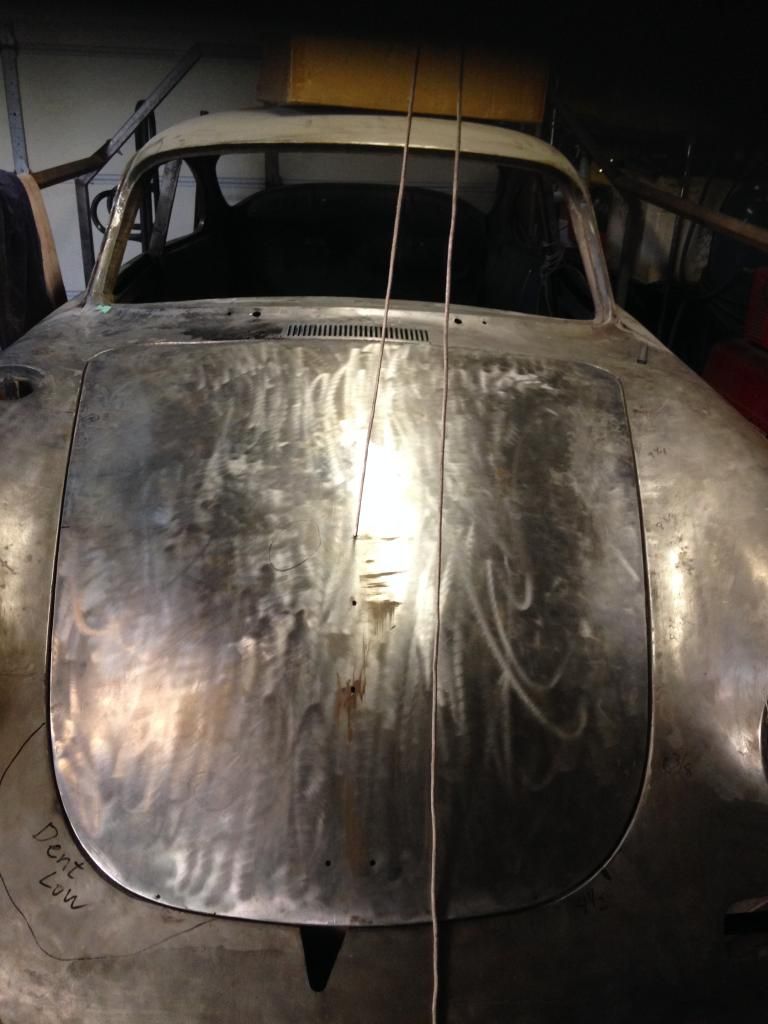
        Everything was well painted inside except for the yet to be spot welded areas. I'm waiting until the last minute to finalize the welding so that the hood remains flexible to needed contour changes. The re-hemming operation went just fine. Whew!

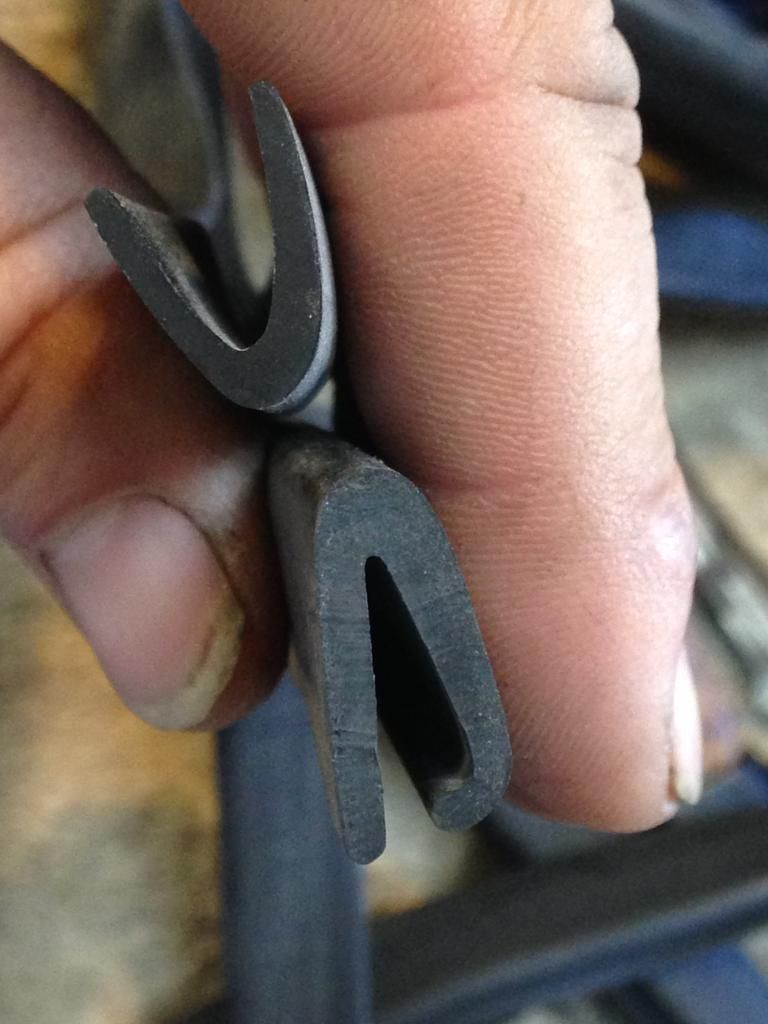
        Two hood seal profiles shown.

        The upper one is Velospace (sp?) and the lower one is International Merchantile. Both are very different, but they feel similar in squishy-ness.

        The IM seems to fill the width of landing best, so I mounted that one first.


        Holes were drilled according to Kellogg's book. Thanks again Don C. I have the book and re-read the entire section.

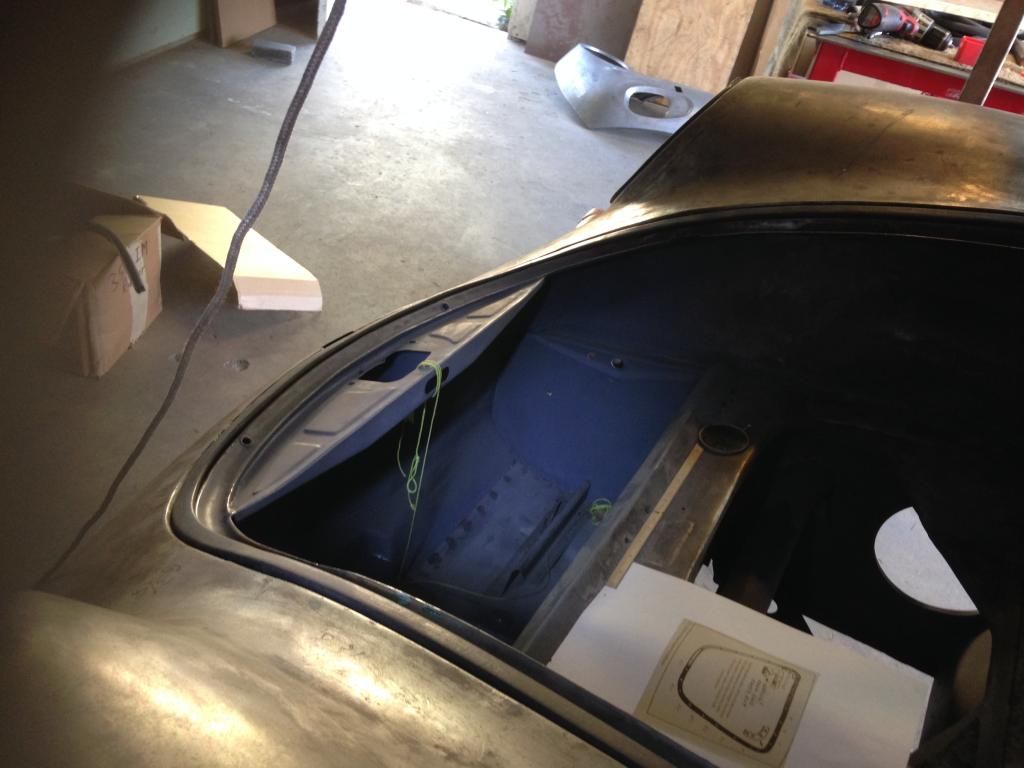
        Nails and cotter pins are temporarily holding the seal in place versus the tedious screws. I figure that the seal needs to be removed several times during leading, switching vendors, alignment, etc. So this trick seems like a time saver. Where ever the seal didn't want to lay flat in the corners I used cotter pins and folded one of tangs to keep pressure on the seal. I wonder if the screw heads make much of a difference to the way the seal compresses?

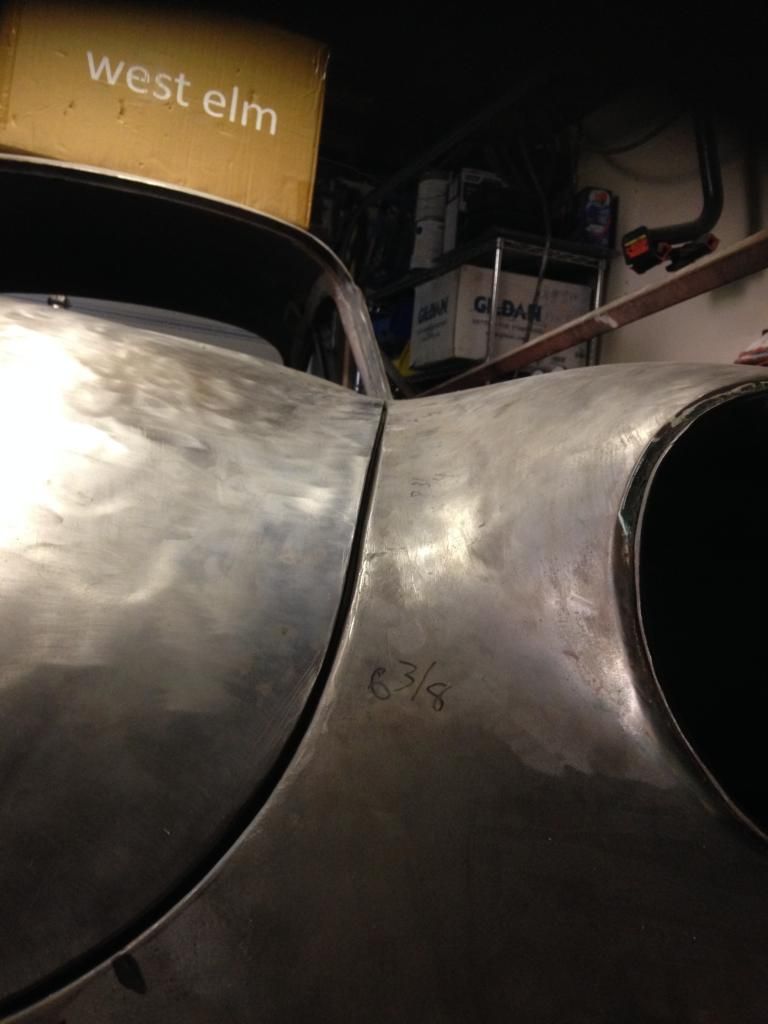
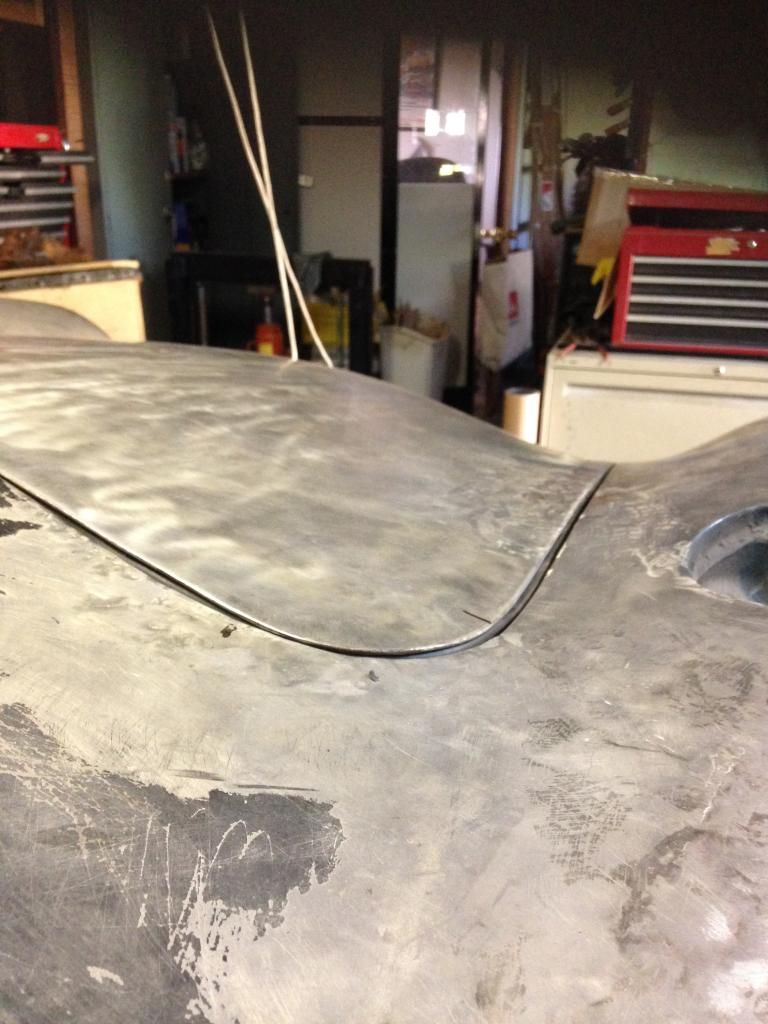
        After a bit more wrestling with the hood it's fitting fairly nice. The drivers side still needs a bit of curvature removed to sit even with the fender, but its within 1/16". The nose gap offset is a bit off, but I think the latch may pull this down nicely.


        Lead is needed where the gaps are too wide and/or uneven.
        I'm going to continue tinkering with the hood fit, but my sights are set on the nose.
        Thanks again for everyone's help.

        Comment


        • Looking good Tom! Minor adjustments are of course no surprise but the initial fitment is very nice. Quite the accomplishment! I must have the international Merch. seal because mine has the hook on it as well. Its a nice seal that doesn't require too much pressure to get the hood closed. Does anyone know how many seal manufactures there are for 356?
          Great job Tom!
          Justin Rio

          Comment


          • Originally posted by tperazzo" post=19318
            Thanks for all the good hood seal info guys.


            Two hood seal profiles shown.

            The upper one is Velospace (sp?) and the lower one is International Merchantile. Both are very different, but they feel similar in squishy-ness.

            The IM seems to fill the width of landing best, so I mounted that one first.
            Tom, you should contact Tim Goodrich. Tim recently made perfect reproductions of both the early and later style hood seals.

            Comment


            • Originally posted by Carrera_The_Kid" post=19325
              Originally posted by tperazzo" post=19318
              Thanks for all the good hood seal info guys.


              Two hood seal profiles shown.

              The upper one is Velospace (sp?) and the lower one is International Merchantile. Both are very different, but they feel similar in squishy-ness.

              The IM seems to fill the width of landing best, so I mounted that one first.
              Tom, you should contact Tim Goodrich. Tim recently made perfect reproductions of both the early and later style hood seals.
              Can you post Tim's contact info?
              Mark Erbesfield
              57 356A
              65 911
              68 912
              73 911S
              66 Toyota Land Cruiser FJ45LV
              79 450SL Dad's old car

              Comment


              • Originally posted by merbesfield" post=19326
                Can you post Tim's contact info?
                541 862 2030

                I have used the Speedster seals and they are superior to those of other vendors.

                As for trunk/bonnet seals, an expanded list of vendors would be great (and would be for all seals).

                I was unaware of Tim Goodrich's hood seals but gotten Veloce Space's and liked them, Terry's (I.M.) and used those, Stoddard's from all decades and found cars that were best with them.....but that's the thing to remember, that in most cases today, 'one size fits all' is not true.

                Comment


                • I recently got an email from Restoration Design, here's the text:


                  I was thinking maybe they should call this the Perazzo service if they extend it to C hoods.
                  trevorcgates@gmail.com
                  Engine # P66909... are you out there
                  Fun 356 events in SoCal = http://356club.org/

                  Comment


                  • Originally posted by Trevor" post=19390

                    I was thinking maybe they should call this the Perazzo service if they extend it to C hoods.
                    That sounds good! Even retroactively it has a good ring to it. I can be proud to have been using the "Perazzo Method" for decades on many 356 alphabet hoods. Sounds medical, like the "Heimlich maneuver" (but better than the Heimlich 'service') for old 356s.

                    (Hey, the left coast has "CPR".....that sounds medical.)

                    Still, a service for doing just a hood re-skinning is great, but if the hobbyist or shop is fitting it to a car that maybe has 'new' fenders or nose...judging from the examples on this thread, maybe at least the perimeter tack welds shouldn't be done?

                    I hope the 'service' Mike is offering is cheaper than a new hood, unless the phobic "numbers matching" reason is cited as keeping a kinked and rusty inner frame and allowing someone to say, "It's original, just restored" (with a whole new skin, making it maybe 20% 'original').

                    The ethics debate could be, maybe is, a whole other thread.

                    Comment


                    • Ahhh, I like that much better, it has a nice ring to it - The Perazzo Method. Next time I'm standing around talking cars with the guys, I think I'll work that into the conversation, something along the lines of... I know this restorer of 356's on the east coast named Bruce, he is very well versed in the intricacies of The Perazzo Method when servicing the hood for structural integrity.

                      That ought to get a couple of WTF are you talking about looks.

                      And now to actually add a little bit of value to Tom's thread, Restoration Design currently charges $1500 for a complete A hood and $400 for the skin, but for the life of me I can't find what they charge for the "The Perazzo Method".
                      trevorcgates@gmail.com
                      Engine # P66909... are you out there
                      Fun 356 events in SoCal = http://356club.org/

                      Comment


                      • Yes, the Perazzo Method, I like it! I can't see why anyone would spend 1,500 for a repop hood. That kind of money can easily get you into a cherry original example.
                        Justin Rio

                        Comment


                        • Perazzo Method? Funny....try it yourself, it's tons of fun!
                          a) Find the crappiest hood you can find. External rebar a plus,
                          b) Cut up the frame into at least 5 pieces
                          c) Make your own metal panels for extra punishment
                          d) Throw it on the floor
                          e) Fix it again
                          f) Steal a skin from a nicer project car
                          g) Spend tons of time bending, twisting, and swearing until it fits.

                          Way more fun than buying a new hood!

                          In all seriousness, I'm happy to hear that RD is offering this service. The box does come with magic gnomes that fit the refurbed hood to the car right? Ha ha.

                          Lots of time was spent first fitting the bare frame to the car and then I had to re-fit again once the skin was only partially re-hemmed.
                          I wonder if RD has a car or fixture they fit to? Even so, its still a guessing game since everyone's car is a little different.

                          Someday, I'll fix the other two hoods when I'm bored.

                          I've got my hands full now:


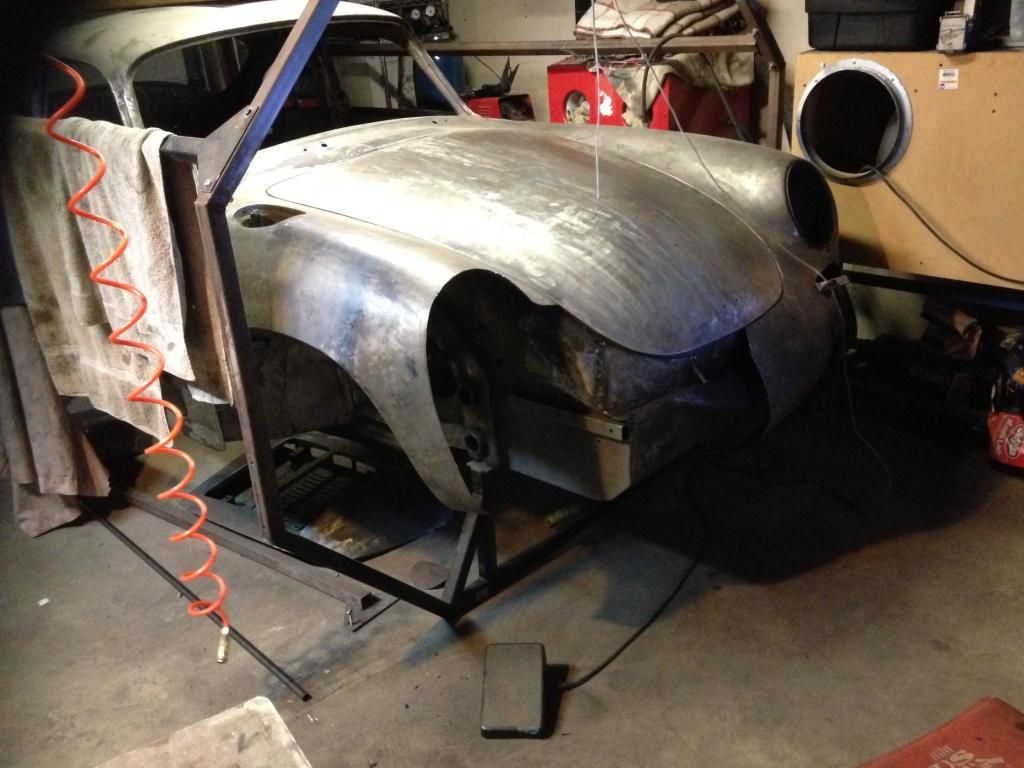
                          The better part of a day was spent repairing the nose attachment flange, fixing various blown out factory spot welds, hammer dolly work, and serious rust removal.

                          Sure is easier when at least half of the nose is gone.

                          Take care,
                          Tom

                          Comment


                          • Derusting....the name of the game!

                            Where did you end up buying your nose panel? SM? Did you look at any other vendors?


                            JP
                            jjgpierce@yahoo.com

                            Comment


                            • You guessed it...Sierra Madre. I chose them because they are easy driving distance for pick up, low cost and that's about it. My feeling is that they all need tweaking anyway.

                              Today, I checked the fit of what I think is an original headlight bucket that I removed from my old nose and it doesn't fit in the SM nose. Shocker...hopefully some hammer and dolly work will let it slip in, but I'm mentally prepared to cut/weld.

                              Best thing to do is spend time searching for a nice donor part. I wish I would have done that instead of about 6 hours garage time that I have so far in the replacement nose.

                              Either way it takes time and that's why I call it a hobby.

                              Comment


                              • The bucket not fitting is a real bummer! You've already put a lot of time into it. Let us know how it goes. I don't want to hijack your thread so when I get to that point I'll post for people's opinions.
                                jjgpierce@yahoo.com

                                Comment

                                Working...
                                X