
Templates sent.
Phil
-
Tom
I have the horn opening templates scanned in but don't have your email address. If you have mine, send me an email. PhilLeave a comment:
-
Tom,
This hood stuff is fascinating, and timely. I am about to embark on resurrecting the hood for my '64 (the Swiss Miss). One side is bent, so I will be mimicking your repair there. Also, I will have to replace the inner frame near the nose, as it is damaged/hammered/rusted beyond repair around the latch mounting area. I see RD has a replacement frame section for this, and I will most certainly need it. Anyway, now that you have shown me the way towards delaminating the hood skin, I feel more confident about proceeding. Can't thank you enough.
Also the tip on alignment of the upper hinge mounting hole is a new one for me. Sounds like the answer to problems I've had on both my other projects. Been scratching my head forever trying to figure out how to shift the rear of the hood laterally.
Keep up the excellent work.
DGLeave a comment:
-
As clever as the ratcheting hinges are, the design just isn't mainstream enough to be universally adopted or accepted. What's the international sign for lift up and then lower? Ha ha, doubt a decal would have made a difference.
What a horror story Bruce....Hopefully its just me opening and closing the hood, but who knows? At least my C has the outside filler door.
Trevor, thanks for the kind words. You are lucky to have a straight hood. Anytime you want to bend some metal give me a call.
My rationale for adding a hidden piece is to transfer the load from the hinge bracket down the frame rail a little ways or at least past the spliced sections. Some of the original metal has been reshaped a few times, brazed, cut and now welded again. Welds are essentially cast metal, so I don't want any cracking later on down the road. (Unlikely, but what can I say I like overkill). A gusset is just piece of mind for me, so I don't have to second guess my welds every time a small wind comes and the hood is up.
Today, I spent a few hours fitting the hood frame to cars opening. Rather than muscling the hood hinges with the hood fitted, I removed the hinges to straighten them the best I could. As it turns out the angle of upper bolt hole determines the hood position in the left/right direction.
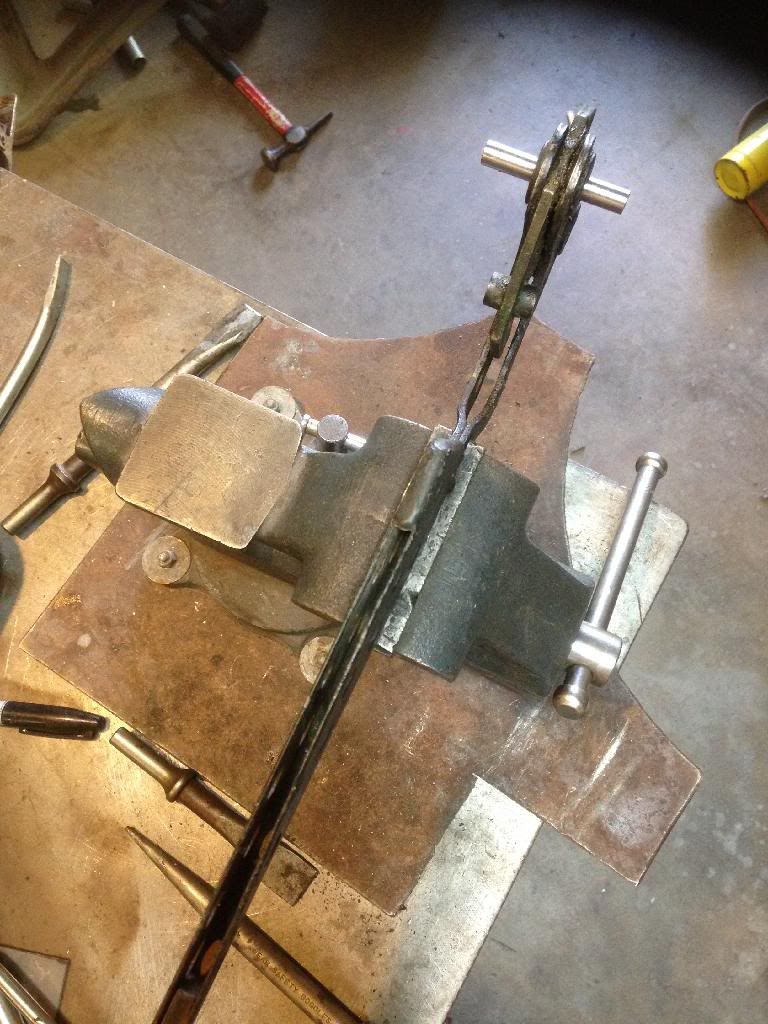
A guage pin pushed tightly into the hole allowed me the check how perpendicular the hole was to the hinge itself. Once perpendicular, things fit better. Then a "cheatin'" small angle got the hood gaps even from left to right.
Tomorrow, the other side will go under the knife.
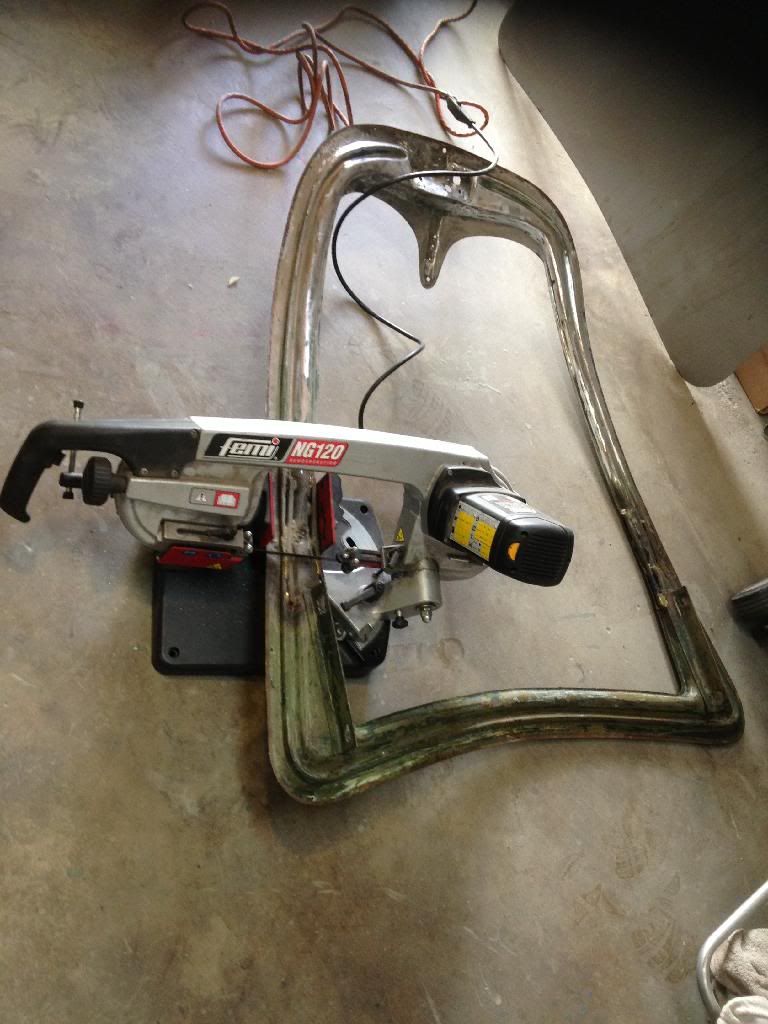
Leave a comment:
-
I hear you Bruce!
Tom - I was going to beg you to make me a replacement piece like yours and offer to bring you a 12 pack of whatever you're drinking these days, but I just went out into the garage and to my surprise found my hood isn't kinked. I thought it was for some reason...
Keep up the good work, I'm thrilled to see you make such great progress!Leave a comment:
-
Ah-h-h-h......youth....and how times have changed. When I was much younger, we'd find a suitable junk-yard hood prop, remove the 'spurs' in the hinges, rivet a perch and a clip.....or use a broomstick if we were lazy.
Then, some time passed and we got cute....saw the 924, 944 and 911 gas struts and adapted those to a 356 hood, guessing at the mounts and lid weights...you know, all that post-kink Bondo makes 'em heavy.
Now, youth tells us NO ONE will ever operate a laboriously repaired 356 hood that forgets to raise before closing. But wait....isn't that how all this began?
Truthfully, I include a small rod similar to that incorporated in the (very good) repro T-6 hoods Stoddard used to sell years ago. My theory is that the spot is weak even when repaired correctly, and a little help and NO ONE touching the hood other than the owner is the best end result.
My favorite story about kinking hoods is from very early in my career. I painted a nice S-90 T-5 B Coupe for a guy in black lacquer. The guy was forerunner of most guys today, and inspected my paintjob AT NIGHT with a flashlight! Found a few pieces of fly sh#* in the pepper, which I fixed. (Lacquer is forgiving) He took his wife 'down south' on a short vacation, to explore great country roads.
On the trip back, he pulled into a typical old country store/gas station and opened the hood to fill 'er up. He also had to make use of the restroom, so a short young boy who worked there said he would take care of the gas.
Coming around the corner of the building, fully relieved, he witnessed the young boy literally hanging from the lid, almost, as he told me, "Arched in half."
He told me he shouted and then chased the kid for a while, then came back to use his belt and a wire hanger to fasten the lid down for driving home.
Back then, 'originality' wasn't thought much of yet, so I found a good used replacement, made it fit and painted it black. Yes, the 'pods' were damaged and the hinges were 'spread.' A mess, no matter how you cut it....and why the design was abandoned.Leave a comment:
-
Looking good Tom, real good!
On reinforcing the area of the hood that gets kinked... I don't think you should go to the trouble. Here's why: no one else is going to be touching the car other than yourself or maybe someone who is very familiar with the 356 hood operation. However, playing devil's advocate, "IF" someone smashed down on the hood AND it was reinforced, the force would be transferred through the hood frame -> to the hinges -> down to the hinge pocket where the hinge pocket would most likely rip out. I think it would be better to have to repair a kinked hood (again ) rather than re-do the hinge pocket and possibly the front cowl. Just a thought.
Leave a comment:
-
Tom,
Looking forward to how you'll reinforce the kinked area.
Great craftsmanship!Leave a comment:
-
Looking forward to more progress Tom! Really nice job fabricating that die! Very impressed with your new section. Keep up the great work! JustinLeave a comment:
-
Thanks all, good idea Bruce to check the hinges first. I'm having some trouble getting my hood to line up in the left/right direction although it's getting better. I hate to rely on the seals for that.
Thank you Jack! That repair piece is a brain teaser for sure, but more fun than Sudoku. I have extras that I'll probably use as spoon rests or something.
Thanks Roy, I have nothing to lose on this hood, so it can't hurt me to learn something new. So rare to have an unlinked hood, you must be lucky.
Will do more this week and share what happens.Leave a comment:
-
Tom, that's really nice work. Trevor was by yesterday and I told him that I can't believe that you made that multi-radius tapered part on your funky pressOriginally posted by tperazzo"post=17545
Leave a comment:
-
What a great thread this is. Many thanks to Bruce for the tool pictures its clear without the right tools its so much harder. Thanks also to Tom for his descriptive methods and photo's I have always wondered what is involved and as this is progressing its becoming much clearer. I thank my lucky stars I have a good original front and hood knowing now what I would have to do to correct a rusty or deformed one.
Great info.
RoyLeave a comment:
-
Love to see others delaminating the kinked hoods, especially if the replacement sections are made correctly! There now seems to more acceptance to 'do it right' since the appeal and value of the 356s grow, pro or hobbyist getting the original fixed. Repairing over replacing seems somehow more correct for a restoration, but sometimes parts like those lids are just too far gone or already a replacement years ago and not original to the car they come in with.
I'm new here, so maybe it's been covered, but if the inner frame is badly buckled, the out skin will be stretched as well. Shrinking and shaping that while accessible is to be remembered prior to rejoining.
The hinges should be checked along with the 'pods' in which they mount. Tearing will mess with the symmetry, symmetry controls the lock/unlock function of that (imperfect) design, so I made a tool out of scrap that checks and can readjust the angle needed.
Leave a comment:
-
Tom with your skills there was no need to buy new. Like you said who's counting the time. It is fun and in the end you will be proud of your hard work and the knowledge you rebuilt it. Very nice.Leave a comment:


Leave a comment: