Announcement

Collapse
No announcement yet.

SC Coupe Restoration

Collapse
X
 
  • Filter
  • Time
  • Show
Clear All
new posts

  • tperazzo
    replied
    Thanks Bruce for sharing those tool pics. Honestly I never knew what a skin removal tool looked like until now. Makes total sense and one will be arriving at my door step soon I hope. My method was similar in function, but not in plier form. It's hard for me to explain, but I drove a wedge shaped thing into the fold when backed up with a large 90 degree welding block. (like 20 lbs bookends). It appears the forces on the fold were similar but your method looks faster. Your advice on annealing is another good one that didn't occur to me. Will do before hammering back flat. Thanks again for sharing. Its going to be hard to find something you haven't seen or done to a 356 already, but I'll keep trying, ha ha. Experts on this site are a real blessing which reminds me of Jack's comment.

    Two seals it is! Good advice and I should start using them soon. Probably need to find the latches in my storage too huh? I was thinking of the International Merchantile rubbers??? Are they the softest ones? Someone discussed the softness of these gaskets, but I don't remember the outcome.

    Don, Phil, Jon, Justin, thanks for the encouragement. I'll be away from the car for 4 or 5 days unfortunately. But will be anxious to get back out there soon.

    Here's the way the splice section was formed using a homemade press brake.


    The dies in the picture are for sharp corners. (like to the outer most bends)


    This "custom" die was for the larger bend radius.


    One more funky one thrown together quickly with scrap steel.


    This brake is great for doing lots of bends close to each other. The large radius (1 3/8" or so) was formed by hand over a wooden dowel. Viola! I have a few extras while I was at it....maybe I can find a sucker on ebay....
    Good night,
    Tom

    Leave a comment:


  • bbspdstr
    replied
    I'm trying to catch up on all the sections and threads here on Justin's great site, to learn and share what I've already learned myself....perhaps to find there are better ways to resurrect old Porsches.

    Tom posted: "Disregard the pliers in the picture, They didn't do most of the work. Instead, very careful prying was done to prevent distortion on the top side of the skin."
    Click image for larger version

Name:	IMG_05631.JPG
Views:	130
Size:	72.3 KB
ID:	40001
    Most guys who do this kind of work as a serious hobby or a vocation find or make things (devices and tools) as needed. Usually, it's Continuing Education courses in the School of Hard Knox. Here are the modified and found de-crimpers I use. The blue handled are the same, from Eastwood, just narrow and wide jaws for straight or radius unfolding. They have a gradual angle that cannot make the 90* needed for a lid delamination with mono-direction SQUEEZING, so I made the other tool to push the return up WITHOUT prying, for as Tom says, I learned the hard way that prying of any sort raises the other side of the crimp and makes the refold very vulnerable if any grinding or filing is needed. The added work-hardening can also cause splits, especially when hammering back into a fold, so it's wise to anneal that fold before and during any work like this. Don't get it too hot, not even too blue, just too warm to touch, both unfolding and refolding.

    Bruce Baker

    Leave a comment:


  • Don C
    replied
    Thanks for posting all these shots Tom! I've been stressing how to fix the hood on my "C" and you have given me incentive to tackle it.
    Thanks again!
    Regards,
    Don

    Leave a comment:


  • foamcar
    replied
    Tom
    Once again, great work! Bending that last flange is something I also learned the hard way. Looking forward to your hidden gusset.
    PhilN

    Leave a comment:


  • John Pierce
    replied
    Tom,

    Fantastic fitting of that piece. It looks perfect. Your pictures and write up will be quite helpful to the next person to fix this area.

    John

    Leave a comment:


  • JTR70
    replied
    Beautiful work Tom! BTW: what did you use as a form for your repair section? Jack is absolutely correct; the seal is so important. Keep up the fantastic work! Justin

    Leave a comment:


  • Jack Staggs
    replied
    Nice work. Buy 2 identical hood gaskets and use one to exactly fit the hood to get the gaps and blocking as close to perfect as you want. Use the second one for the finished product.

    Leave a comment:


  • tperazzo
    replied
    Thanks Justin, It's cool to see how the hood fits without the skin attached, plus removal and re-installation is really easy. I've already spent hours fixing bent hinges and hinge pockets to get this hood to fit better. Still lots of work to do, but eventually the elevation and gaps will be uniform before the skin even goes back on.

    Today, I finished the splice on one side. A hidden gusset is planned, but that won't go in until I'm happy with the hood fit with the fenders and cowl. Some tweaking is still necessary to the hood frame.


    A little trimming is still need on the outer flanges. Lets hope the other side goes easier. Thanks for watching.
    Tom

    Leave a comment:


  • JTR70
    replied
    Very interesting shot of your substructure mounted in position this is going to be very cool to watch. Fabricating your own substructure section; Nice! You da' man! Keep up the great work! Justin

    Leave a comment:


  • tperazzo
    replied
    Thank you all for the interest in my project. If some one is encouraged to get out in the garage and build something than posting pictures is worth my time!

    Hi Mark, yes I did consider buying a repro hood , but my past experience is that it won't fit without serious modification anyway. I could be wrong, but I don't want to spend $1500 and find out the hard way. I'll sell the extra hoods and be $ ahead. Sure....time is money, but who's counting anyway?

    Here's a picture, before the splice goes in. Several measurements made before for reference.


    Profile section complete except for the last bend. I always form the last bend once everything is tacked in place. This prevents accumulated error and the last bend is fairly simple.


    More to come soon, I have four hours tomorrow reserved for 356 time.

    Leave a comment:


  • merbesfield
    replied
    Have you considered the new part from Restoration Design? Of course, there is always the satisfaction of knowing you did it yourself and spent countless hours making pigs crap look beautiful. That's what we all do . Post some more pics in case I have to do this bi#%*tch job on my car.

    Leave a comment:


  • roy mawbey
    replied
    Thanks Tom also from me, I have often looked at the hood and wondered how you would start to repair one. Great site here top find out. My brothers 51 split screen hood came up at speed many years ago and I saw not only the kink in the lid but also the damage in the cowl under the windscreen. He had it repaired but he never showed me the car with the hood lid lifted again . I have always dreaded that problem ever since. So much so, I check the lid now so regularly.

    Really watching this with interest.

    Roy

    Leave a comment:


  • Carrera_The_Kid
    replied
    Tom, thanks for sharing these pictures. Love your attention to detail and craftsmanship. Makes me want to go out to the garage and work on stuff.

    Cheers,

    JK

    Leave a comment:


  • JTR70
    replied
    Man that kinked substructer looks worse and weaker from the inside. I believe Steve Hogue offers a repair section so you can splice in a fresh piece in there. Just a suggestion on the hoods; you of course know better than anyone else with them right in front you. Either way I have no doubt its gonna be nice in the end. The donor hood for that Speedster project I'm doing is also kinked. I have never dealt with a kinked hood before so like Phil I'll be watching this operation with great interest!
    Justin

    Leave a comment:


  • tperazzo
    replied
    You noticed the holes too huh? Crazy workmanship. The brazed in rods really take the cake though. Bubba would be sooo proud!

    I may steal the skin from the other hood, who knows. That one has one side slightly kinked, so I don't know if the skin was damaged or not.

    Either way, I hope to end up with a cherry part once its all said and done. I have laid the hoods on top of each other and the skins are identical in size. The internal frames are slightly different near the hinge bracket too. They have a similar profile, but the C frame is a little bit flatter.

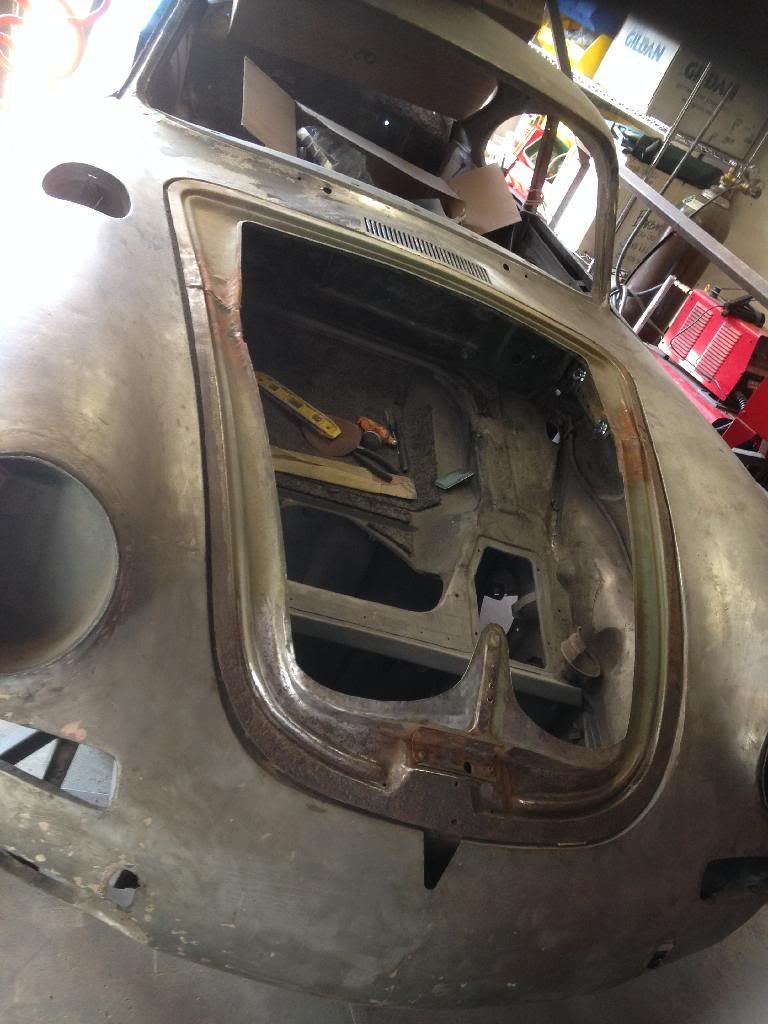
    Yes, this hood is so happy to get fixed. It was the worst fitting part on the car and stood out like a sore thumb right in front of my driving view! (Drivers corner never sat flush with the cowl.) That frame hasn't seen the light of day in almost 50 years, so yes I'm happy to march forward now that its opened up like a can of worms.

    Thank You,
    Tom

    Leave a comment:

Working...
X