Tom, Thanks for sharing what would normally be considered a very intimidating operation. Nice job on converting those tile nibblers too they seemed to work beautifully! Did you anneal the lip as Bruce suggested or did you just unzip this cold? This is really shaping up to be one hell of a repair! Looking forward to the next installment. Justin
Phil, you have a similar repair to do as well?
-
Great pictures Tom, and nice tool. Can't wait to remove my hood skin.
PhilLeave a comment:
-
Thank you Joris, Roy and Trevor for the nice words. This damn car has given me lots of practice that's for sure. My talent is soon to run out when the painting phase ensues. Check book ready, ha ha.
I gave up on the Eastwood pliers that never arrived. Tile nibblers are the next best thing or at least what I had.

modified

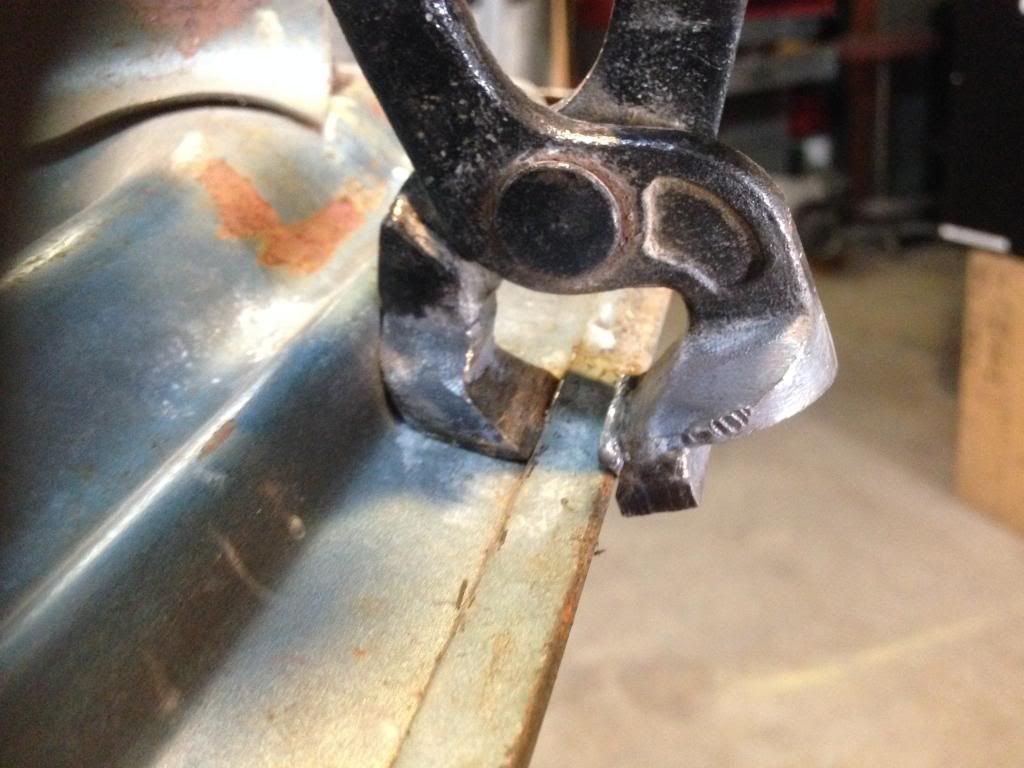
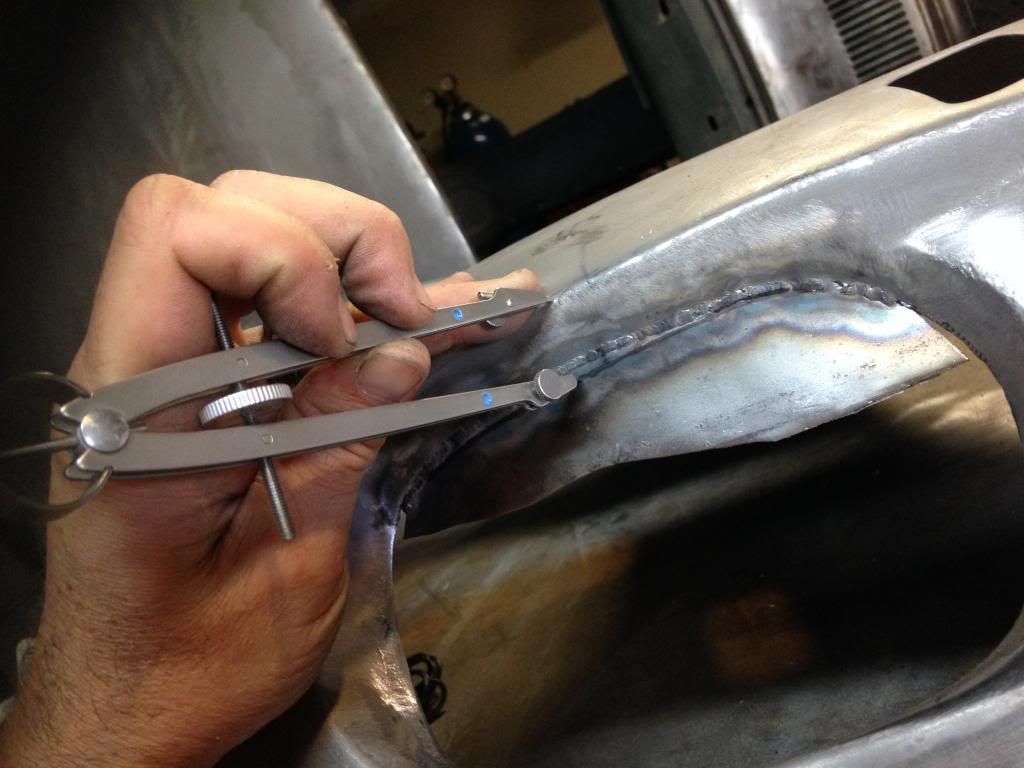
I found that its best to make several passes instead of just mashing it open. This way there is less distortion to the flange.
Not good news:
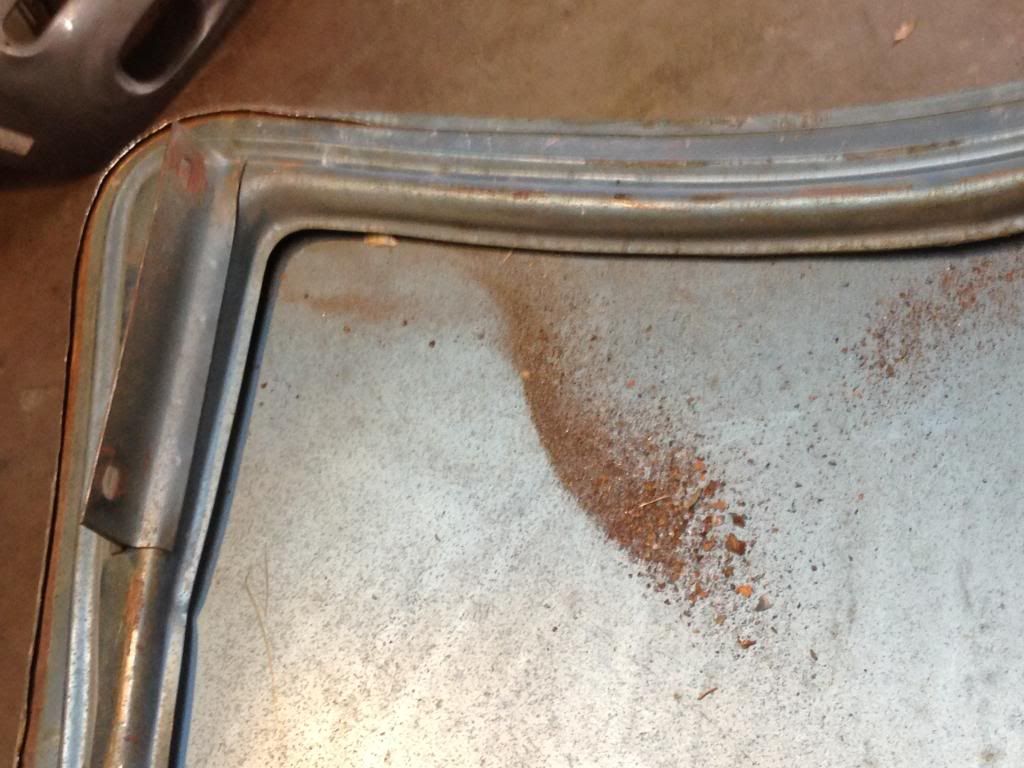
Success! Tempered by rust
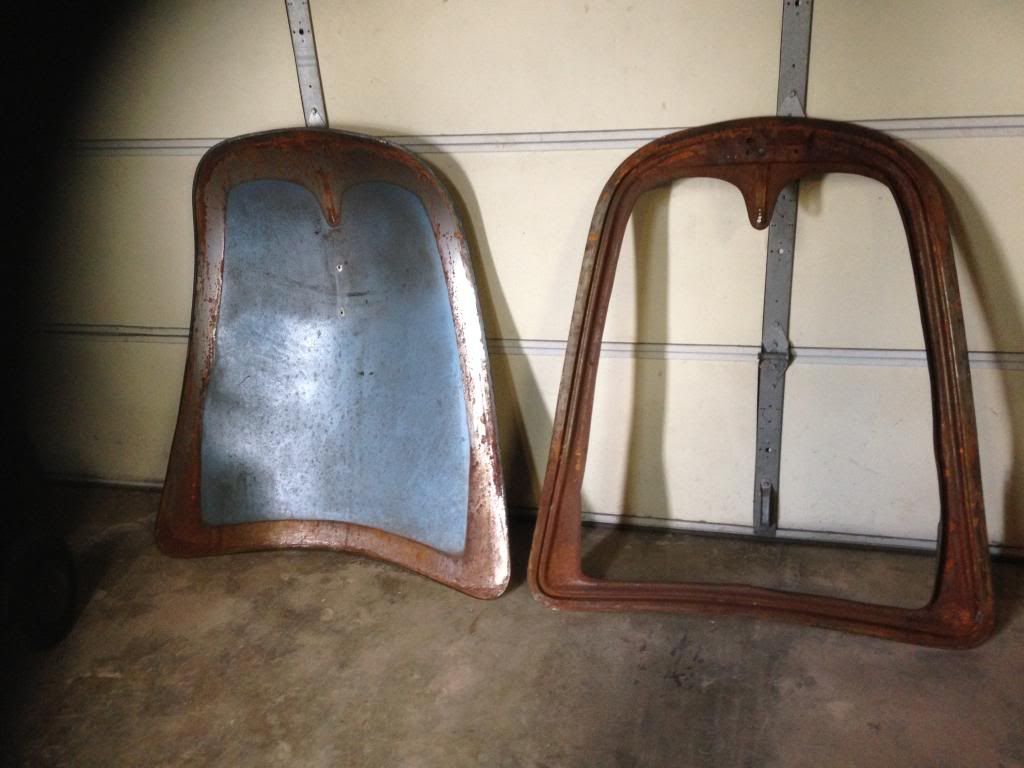
Some straightening needed in the kink area. Easy to fix now that there is access.

Most of the rust has been cleaned away. My technique is wire brush followed by DuPont metal conditioner (Phosphoric acid) applied with steel wool. Then repeat again and again.
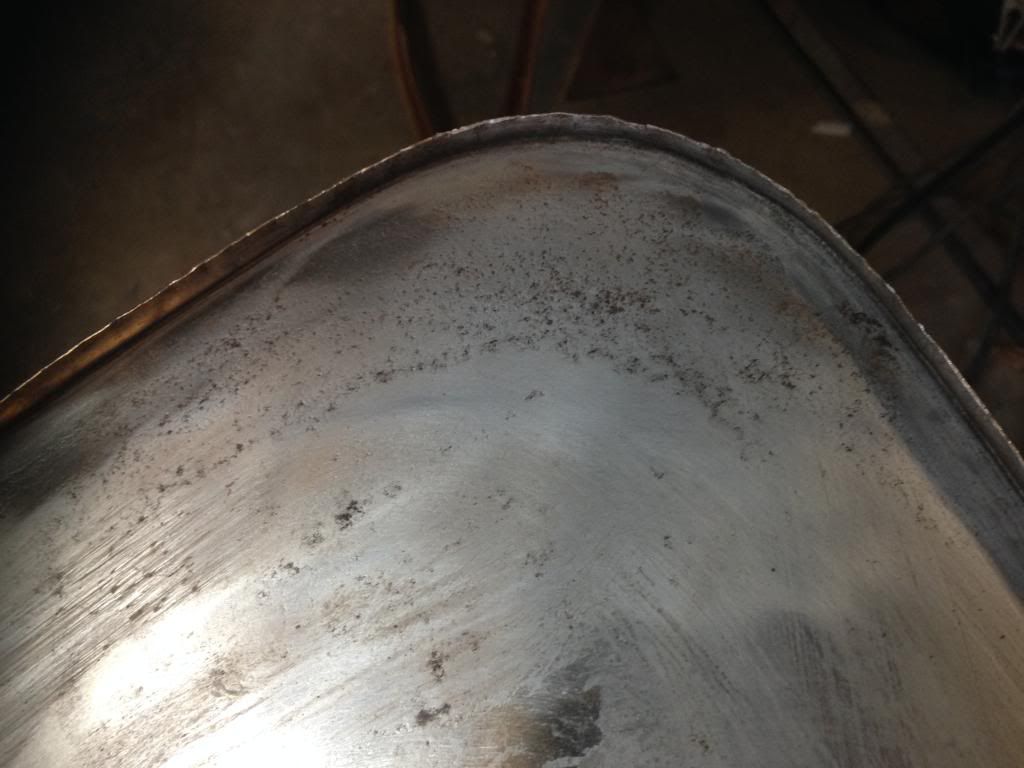
Here's the nose that has lots of pitting. The plan is to continue cleaning. I may fill a few deep pits with the TIG welder.

Overall this skin is way better than my original one. Later I will show the test fit with the frame.
Thanks again for the nice encouragement.Leave a comment:
-
Tom, your talents keep amazing me. Thanks for sharing these great pictures. Look forward to the next installment.
Best,
JorisLeave a comment:
-
Thanks guys. John you can borrow the nose templates anytime. They are sitting in my file cabinet. I found the box with headlight wiring, but I haven't tried to stuff it in yet. Great idea about the copper back up and even cooler that two great minds think alike. These forums really are about sharing good ideas/tips and I thank all of you for that.
Perfectionism seems to creep into my head all the time. For instance here's the rest of the nose mods. Some are definitely more detectable than others, but I tend to agree that no one is going to say, "wow those are nice holes in your nose". Kind of personal isn't it?
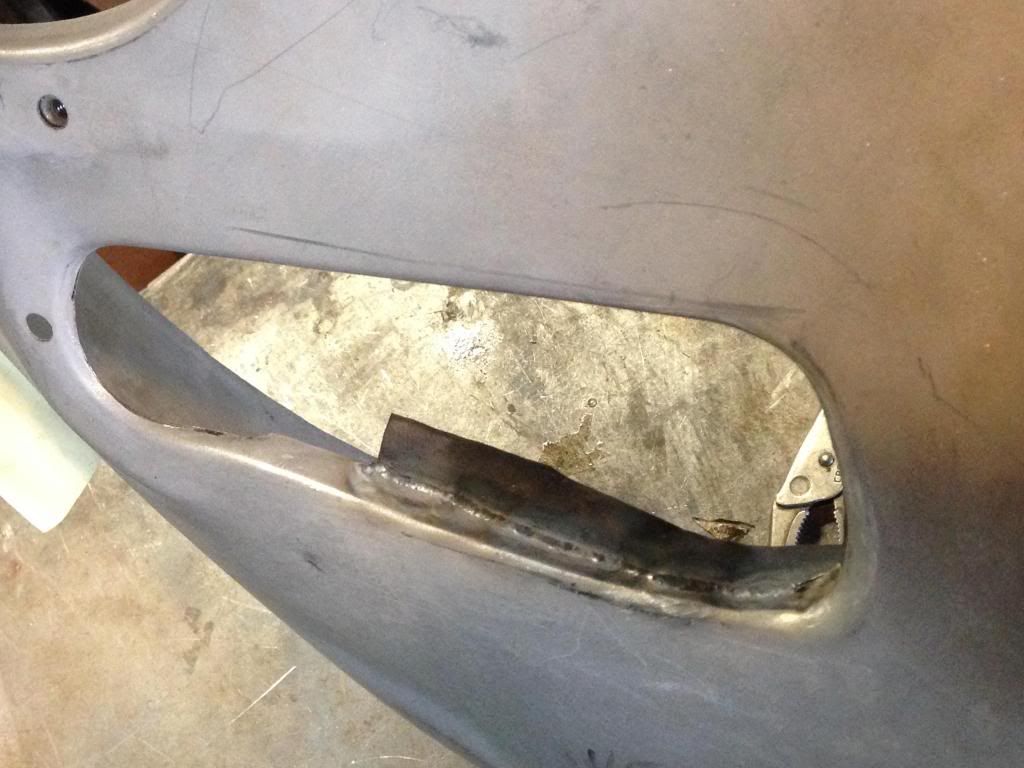

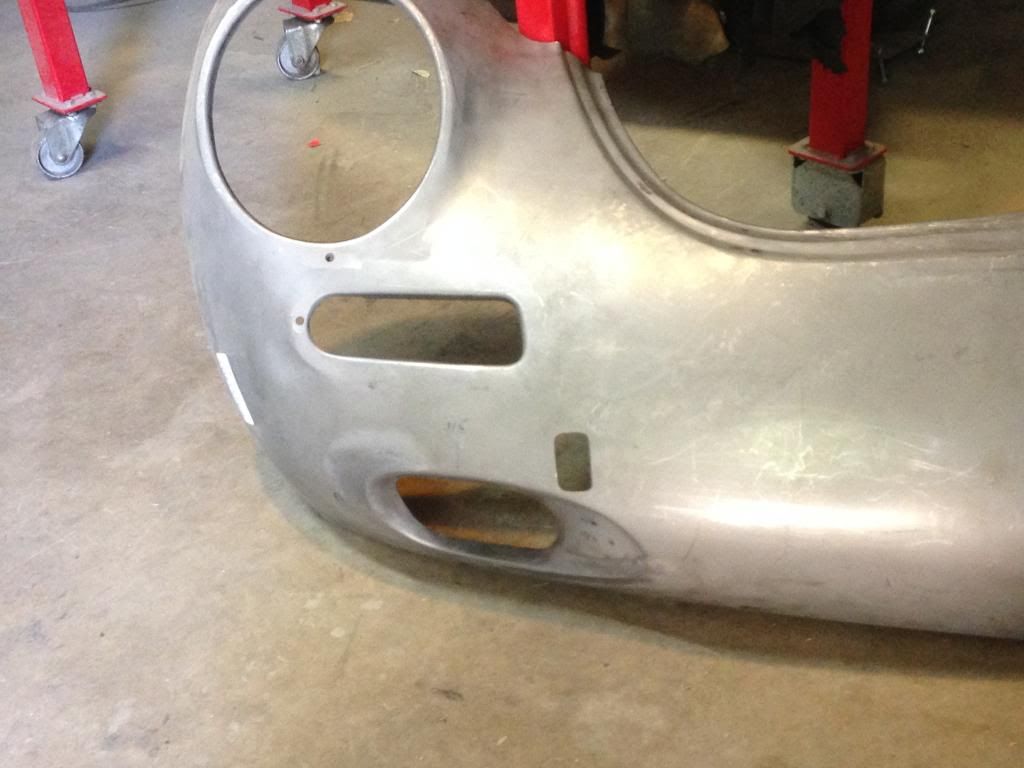
All of the angles and flange depths have been "adjusted" to match the other original side. Boring, but it didn't take that long to make it right.
Tomorrow will take me back to the meat and potatoes of this project....re-skinning the hood and fitting it to the car.
Keep your fingers crossed....
Thanks
TomLeave a comment:
-
You are a true perfectionist Tom! Most guys would not concern themselves with areas so close to the ground you setting a great example to strive for! Keep up the great work!
Really clever repair on that header Phil! I will keep that in mind for future reference! Thanks for sharing! JustinLeave a comment:
-
Very cool, Phil. I like how you held the copper in place with the wire.Leave a comment:
-
John
I used your idea to repair a bad j pipe several years ago. ESP I guess.
And nice work on those openings Tom. Don't know if I would have even noticed the difference from original.
PhilLeave a comment:
-
Hi Tom,
I came up with an idea for welding the tube for the headlight electrical wire. Take a copper pipe and cut it lengthwise. You can then make it smaller or larger to fit inside the electrical conduit. This will prevent the weld slag from getting inside the conduit. Don't know if anybody has tried this before but it should work.
Things are looking great. I may have to borrow your nose cut out templates when I redo my nose.
Good luck.
JohnLeave a comment:
-
Whew, real work got in the way and then I went to do some fun work on Sunday and the welder was out of gas! Deserved punishment for not following my own advice by doing a little bit each day? Surely, it was.
Today was spent tuning up my reproduction nose.

Above is a better aluminum template based on Phil's nose and my original accident free drivers side. This highlights the upper left corner again.
Below shows the cut I made.
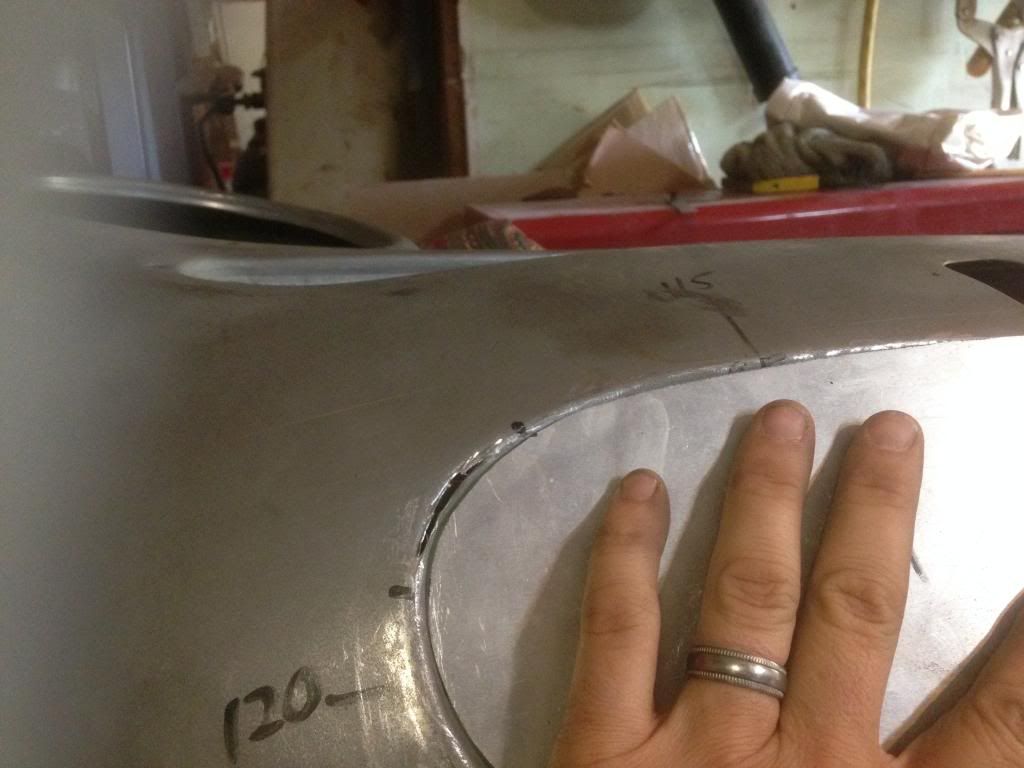
When the gap gets big, MIG is the clear winner.
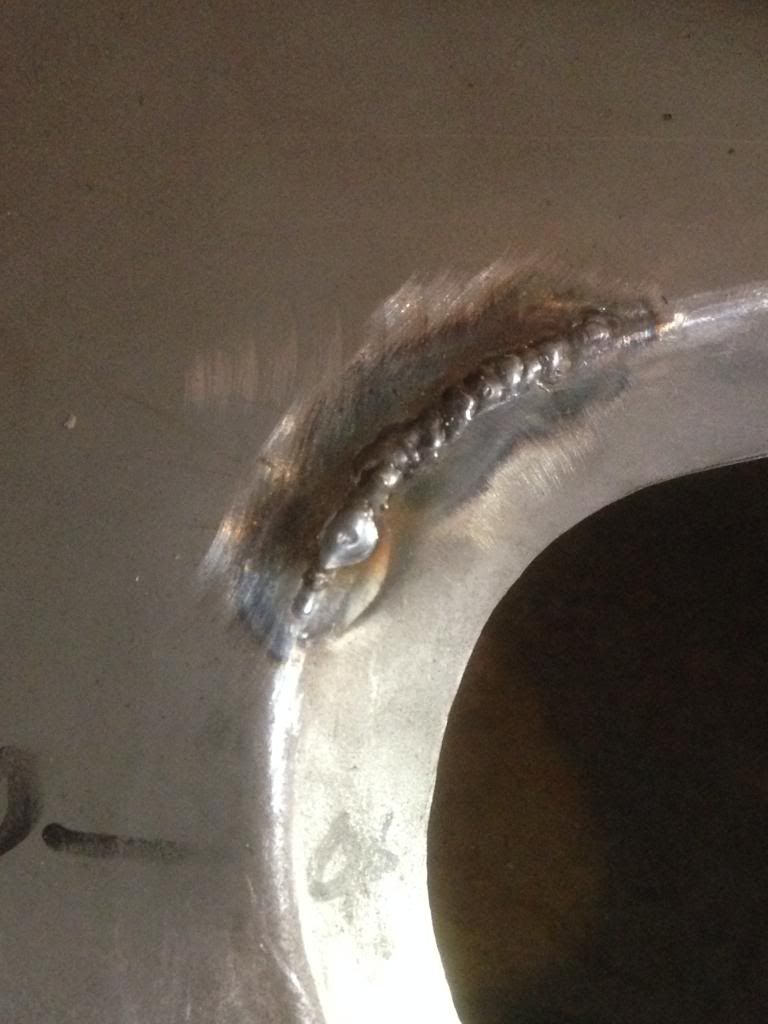
Just filler up!
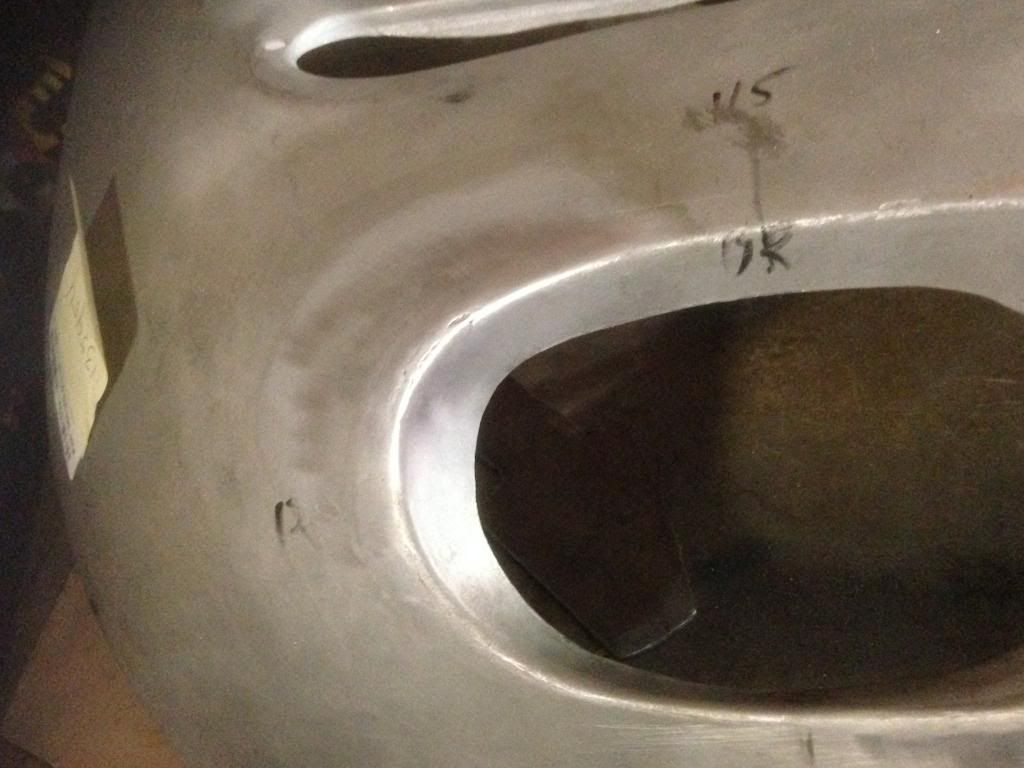
Remember the lower corner was off too, but not too bad.
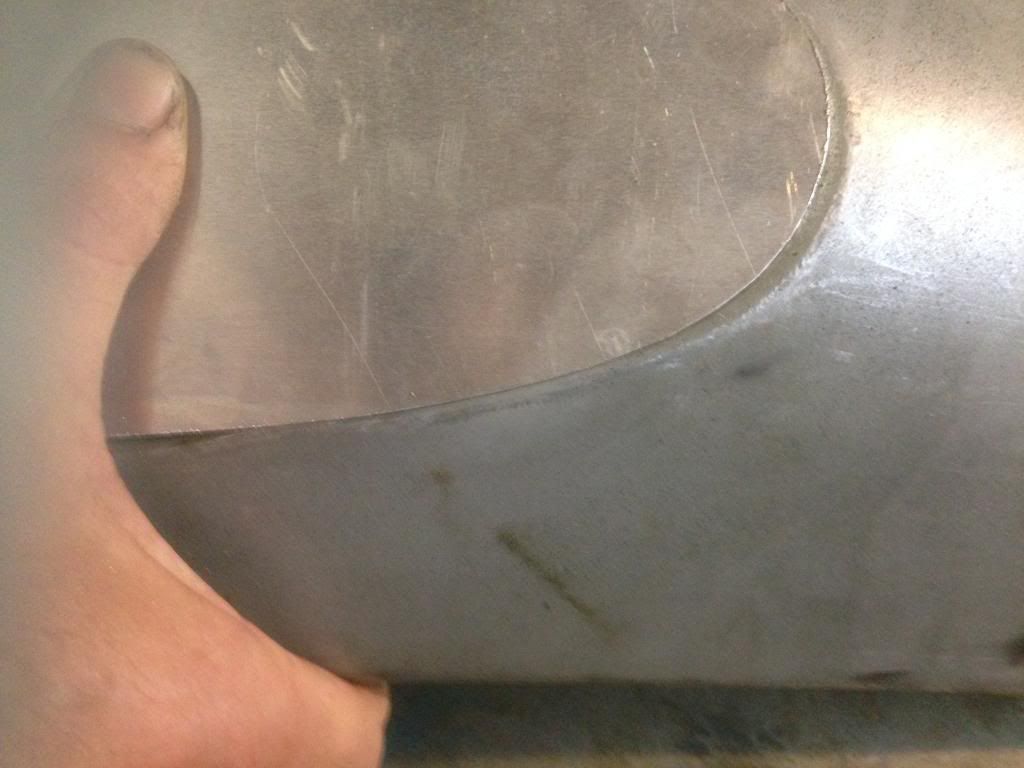
Slice and dice.
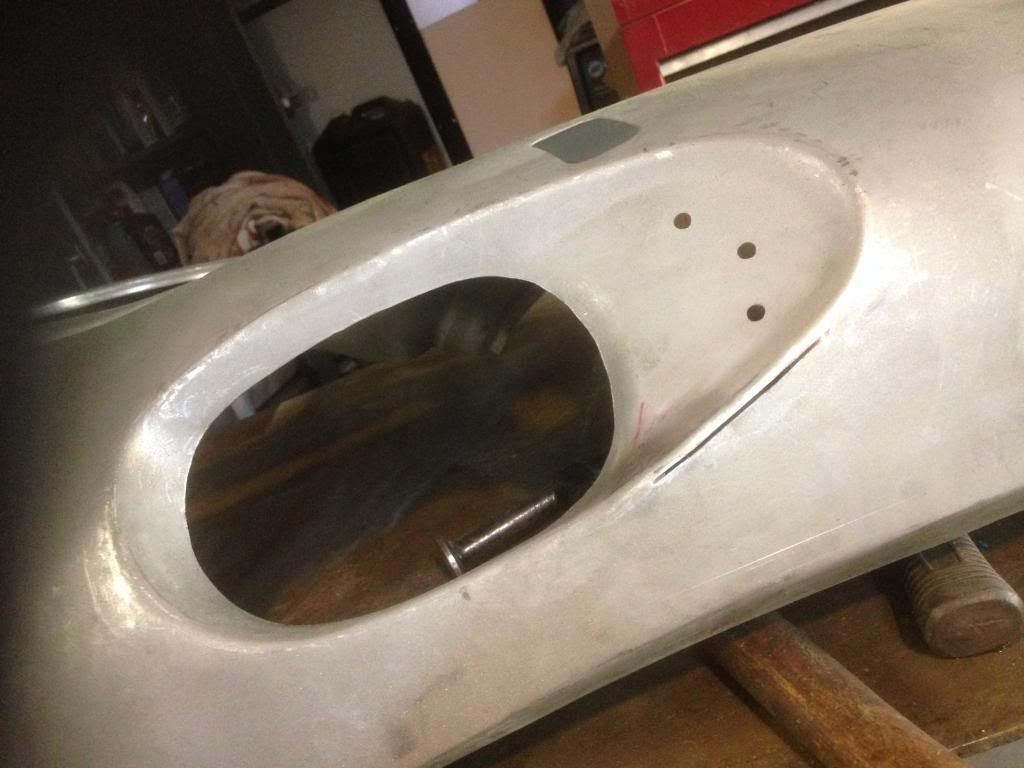
Also hammer and dolly action needed to flatten a strange lump shown several pages back.

Better picture with template showing improvement.
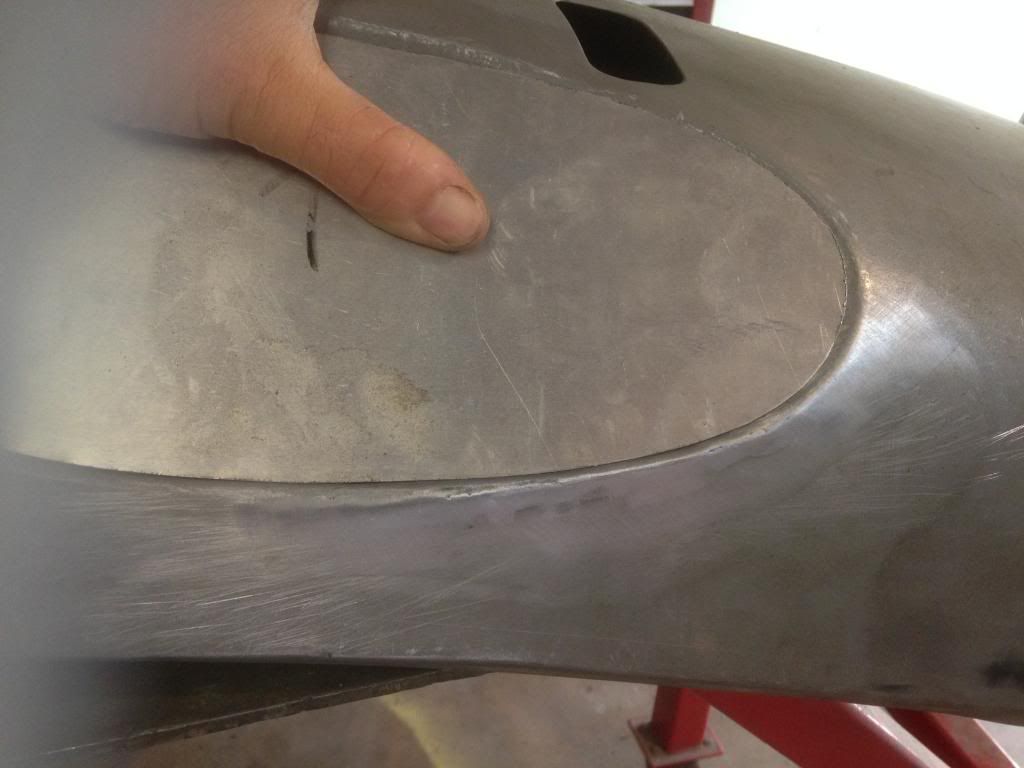
Also more hammer work to sharpen the bend shown below. I'm trying to make it match the original passenger side as best I can.
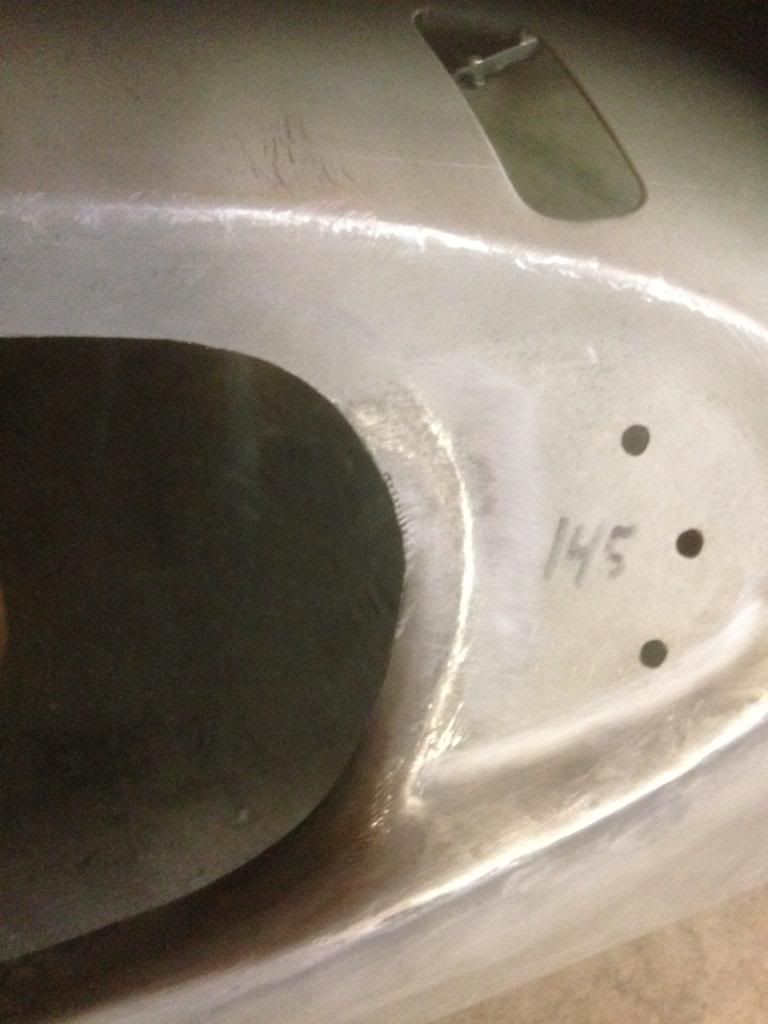
I did more work to the cutout too, that I'll need to show soon. Thanks and please stay tuned.
TomLeave a comment:
-
Tom,
Just checked back 3 pages or so on your thread. Interesting pages especially on the annealing info and Bruces confirmation. Liked your repairs by the way,very neat.
I thought I had made a repair on the headlight bucket struts myself but no,it was the struts at the back of the rear fender. These take the full forces of dirt and much from the rear wheels. I reinforced the rear strut that attaches to the body.
So as it took me some time to locate the photo of the front I attach and will look for the rear strut later.
RoyLeave a comment:
-
Hi Jack,Originally posted by Jack Staggs" post=18426
Its hard to see, but my guess is that the bumper took a hit from the side forcing the brackets into the sheet metal. This ripped open a larger hole on both sides of the same hole. (Not sure why both sides were affected?) So the previous welds match up with the height of the bumper bracket and run horizontal maybe 1/2" each side. Everything was kind of mangled, so I thought it was easiest to make a larger repair, instead of adding a few mini patches and trying to weld on the edge of the hole.
Thanks for the heads up on the wire conduit. I will find the harness and try to get it in there. An idea popped into my head to attach a 1/4" wire cable to my drill and try to clean out the inside of the tube and maybe deburr my repair before I trash the factory wiring. You've probably had to do something similar? Thanks again for the advice, keep it coming!
Justin, it looks like you have been making some nice oblong holes for your bumper mounts. My tool of choice is this:
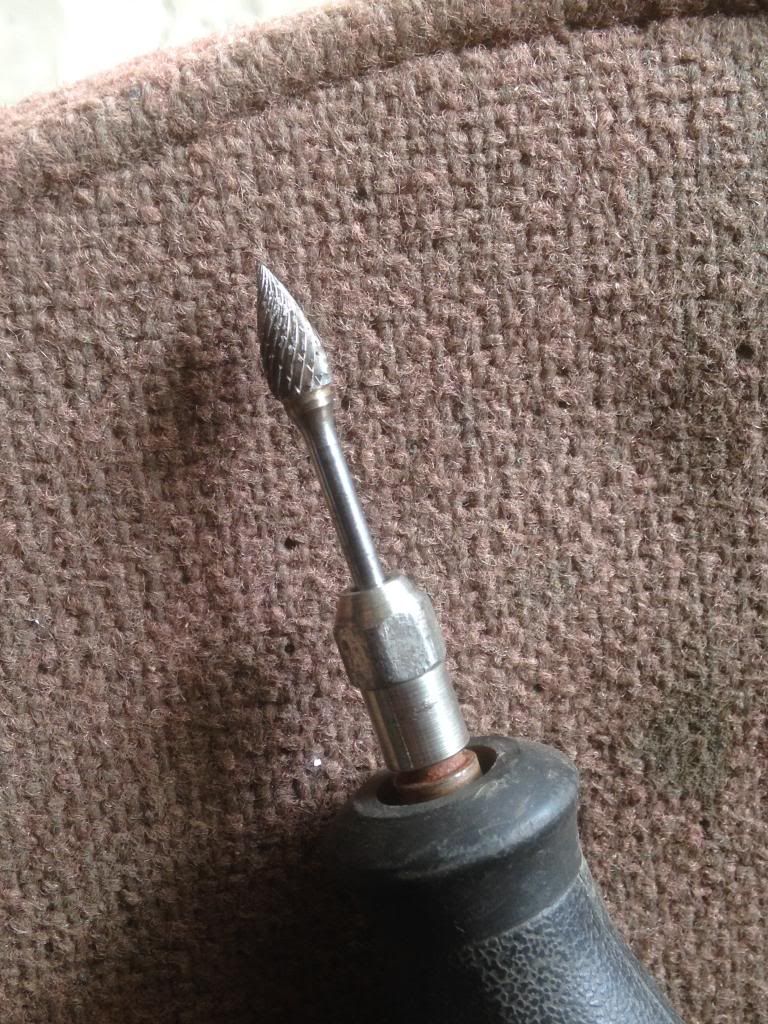
Largest diameter is about 1/4" on a 1/8" shank. Carbide burr from McMaster carr p/n 8175A91. It works pretty fast, but watch out for tiny metal splinters.Leave a comment:
-
Tom, Nice job on that bracket hole repair! How did you cut those nice radius corners; did you file shape them?
JustinLeave a comment:


Leave a comment: