Announcement

Collapse
No announcement yet.

SC Coupe Restoration

Collapse
X
 
  • Filter
  • Time
  • Show
Clear All
new posts

  • Such an interesting thread. Thanks guys. After seeing Tom's great welding and reading Bruces full and interesting account on full nose panels I have to say if I ever had to do that I would budget for the amount but would be frightened stiff trying to install it.

    Admire the welders on here all of them!!

    Hours of work must just slip away so fast, got to be very brave to do that work for a living if its your company.

    Roy

    Comment


    • Originally posted by roy mawbey" post=21299
      Hours of work must just slip away so fast, got to be very brave to do that work for a living if its your company.
      Roy

      Click image for larger version

Name:	1978356work.jpg
Views:	74
Size:	82.7 KB
ID:	48087


      Roy, my 43 years in business has just slipped away! It is a continuation of an earlier hobby, just as seen here on this forum. However, thank you for your considerate statement, as "brave" is a nicer word than "dumb." Any full-time worker has made more money than I have, I just get to brag that I have a wife with a nice corporate job.

      She first estimated that I would last in the corporate world until lunch time on my first day. She then re-estimated I would last MAYBE until coffee break on my first day. I disagreed, because I doubted any corporate entity would hire me! Thus, I eschewed the corporate 'greed' and decided to make my own way doing what I enjoyed most.

      Here are early pictures dated 2-'78. The worker shown was a partner in our first iteration, Auto Research, Inc., Jerry Springman. He and I and the younger Tony Euganeo ('Das Keyman') were rabid 356ers and 'brave' enough to do what is pictured, and we actually made money. Unfortunately, not enough....so Jerry and Tony went to work for the post office, where they still are, waiting for imminent full retirement. I never put money first, thus 'fun' won since exiting the military and now....it's all I know, and here on Justin's site, it's good 'company.'

      -Bruce
      PS, the Lenco spot welder is hidden by Jerry's leg, but evidence of spot, MIG and TIG are in these two pictures, but we used gas most often...on butt welds.

      Comment


      • Great old photos and story Bruce always enjoy hearing about the early days! Those olive green factory panels I see in those photos are really something to see now! Thanks! Justin
        Justin Rio

        Comment


        • You know Bruce if people like you had not decided to go with their hobby and keep 356 cars on the road if people like Stoddard had not decided to make parts to restore them then Tom, Phil, John, Gordon. Justin,etc, etc, and me! might not be driving our old rust buckets around any more.

          Its great to see how Tom is doing here but, without the panels very difficult to proceed.
          Its also very hard sometimes working for yourself. I started out as toolmaker, elevated ( maybe ?) to selling machine tools. The company I worked for folded but I was lucky to be taken on by a Swiss company.

          Here I was self employed but had a salary from them and eventually on commission basis from three other companies as well. You are as good as your next order, often wondered how long it would last especially when it went over 35 years from hydraulic to full 6 axis CNC with robotic autoload and machine tool costs so high! I have come to the conclusion a lot rests on who you work for. If you respect them, if you get on with them, then that really helps. I had no idea you worked with Tony the key man. He has such a good reputation for opening anything 356.

          Been retired now for seven years still miss my Swiss friends.

          Keep at it Tom, wish I could still lay a weld like you do.

          Roy

          Comment


          • Originally posted by Jack Staggs" post=21233
            Tom, my guess is that the mis fit at the center is only the last 12 to 15" a fairly easy trim and rebending of the flange. Better than too short! Could you show a pic of the other problem area at the fender? I've never had a nose panel fit perfectly, new, used, repro... Seen original cars with fender stays mounted differently from side to side tho. I have had reasonably good luck using headlight buckets and surrounding area from VW front fenders, more so on pre t5. Later cars require more darts on the top to fit. Always a good fit for the headlight and body gasket. Damaged OG VW fenders with good buckets can be had for up to $35. Maybe this will help someone...
            J
            Here are the pictures I promised showing the new repro nose lower flange mismatch. Unfortunately, I already started flattening the bend, but you can still see how far it is off. To make the bend more visible, I marked it with a dashed line.

            Here's the entire front.

            Click image for larger version

Name:	IMG_6893.JPG
Views:	73
Size:	66.1 KB
ID:	48838
            Left side

            Click image for larger version

Name:	IMG_6894.JPG
Views:	72
Size:	60.4 KB
ID:	48839

            Click image for larger version

Name:	IMG_6895.JPG
Views:	74
Size:	60.5 KB
ID:	48840

            Click image for larger version

Name:	IMG_6896.JPG
Views:	80
Size:	43.2 KB
ID:	48841

            Here's how far off the flange is from the existing fender. Remember the nose I cut off wasn't that bad and there was no major accident damage.

            Click image for larger version

Name:	IMG_6897.JPG
Views:	71
Size:	57.5 KB
ID:	48842


            Here's how far off it is in the middle.

            Click image for larger version

Name:	IMG_6898.JPG
Views:	76
Size:	54.2 KB
ID:	48843

            It's going to be difficult to bend the new flange in the right spot, but I don't think I could have made it perfect without the nose attached to the car. Time will tell. I hope to start on it tomorrow.

            Sorry for the delay, but now I'm refreshed and ready to get this thing done!
            Tom

            Comment


            • Its cleaning up nice Tom! Glad to hear you're ready to make another run at it. Keep up the great work!
              Justin Rio

              Comment


              • Thanks Justin, it's good to back in the shop occasionally.

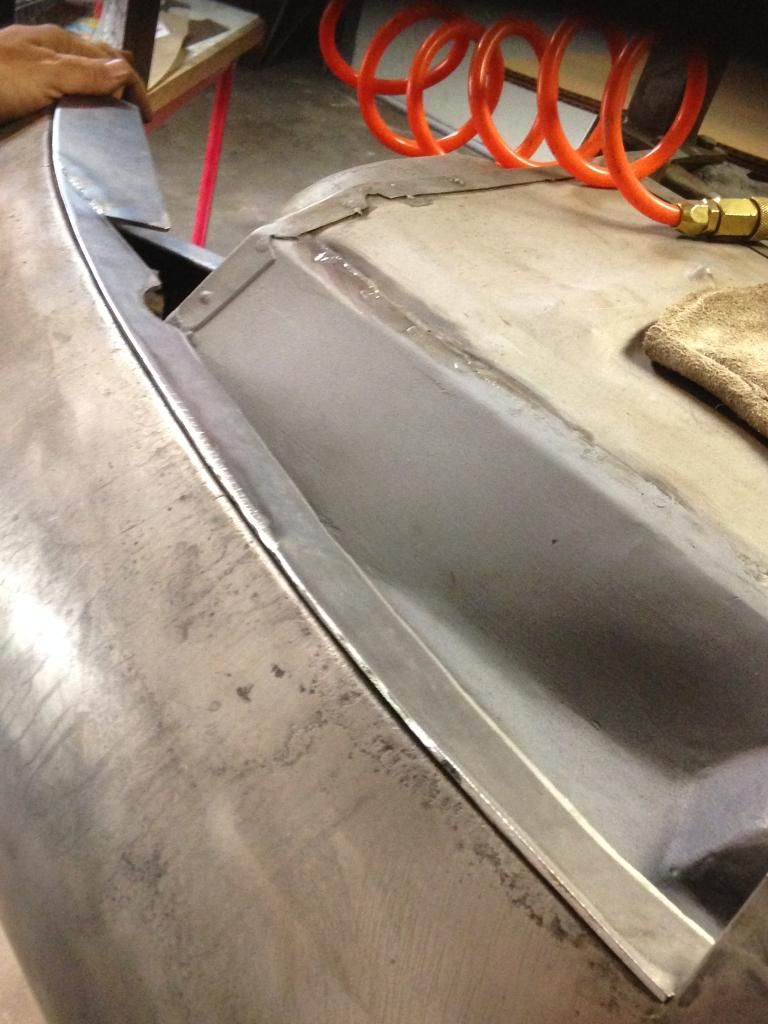
                Here's the flange forming tool I cut to match the original side. It will be flipped and tack welded to the inside of the new nose.


                Here it is welded to the new side.


                Partially folded over.


                Form removed and flange folded further down.


                I spent some time leveling the center but the edges are still non symmetrical. I have been researching lots of pictures and manuals to determine how much of a smile is correct. If anyone has any documentation, or advice please share. So far I have the workshop drawings and some sales literature pics that are pretty good, but I'm sure there's better references out there somewhere.
                Thanks,
                Tom

                Comment


                • Question, how did you spot weld the template and then how did you remove the template after you finished rolling the lip?
                  Mark Erbesfield
                  57 356A
                  65 911
                  68 912
                  73 911S
                  66 Toyota Land Cruiser FJ45LV
                  79 450SL Dad's old car

                  Comment


                  • I can appreciate all the extra time that was put into making that hammer form. It really did the trick so time well spent! Looks great!
                    Justin Rio

                    Comment


                    • As usual, very nice work!

                      Comment


                      • Tom
                        Unbelievable what you had to do to that repro part. And done very well. Not sure what you are referring to about the smile. Is that along the bottom flange? Can take pics of Foam Car, but probably not a good reference.
                        Phil

                        Comment


                        • Click image for larger version

Name:	IMG_08751.JPG
Views:	72
Size:	57.9 KB
ID:	48929

                          Click image for larger version

Name:	IMG_08761.JPG
Views:	74
Size:	59.4 KB
ID:	48930

                          Click image for larger version

Name:	IMG_08781.JPG
Views:	75
Size:	80.1 KB
ID:	48931

                          Just delivered from Porsche, a one-piece T-6 front. I just got it out of the box and compared it to 'the real thing' and it's difficult to tell now what will be needed to make it fit properly, but it beats the challenges of the two pieces chronicled here!

                          Two weeks from Germany, also less than expected in cost. Installation is the proof of overall savings to the customer and time will tell.

                          "We" need a rental program for all the special tools and jigs and forms being created for such projects. A book on all this may be a legacy for future 356ers that Justin can produce......in his alleged 'spare time.'

                          -Bruce

                          PS- After all I've been hearing lately about who is doing what and where, I would not be surprised that the stamping for the above part is done, say, somewhere like Taiwan, finished in a Scandinavian country and shipped to Stuttgart where it's labeled as a Porsche part and priced accordingly. It has that 'look' and 'feel.'

                          Comment


                          • Originally posted by merbesfield" post=21685
                            Question, how did you spot weld the template and then how did you remove the template after you finished rolling the lip?
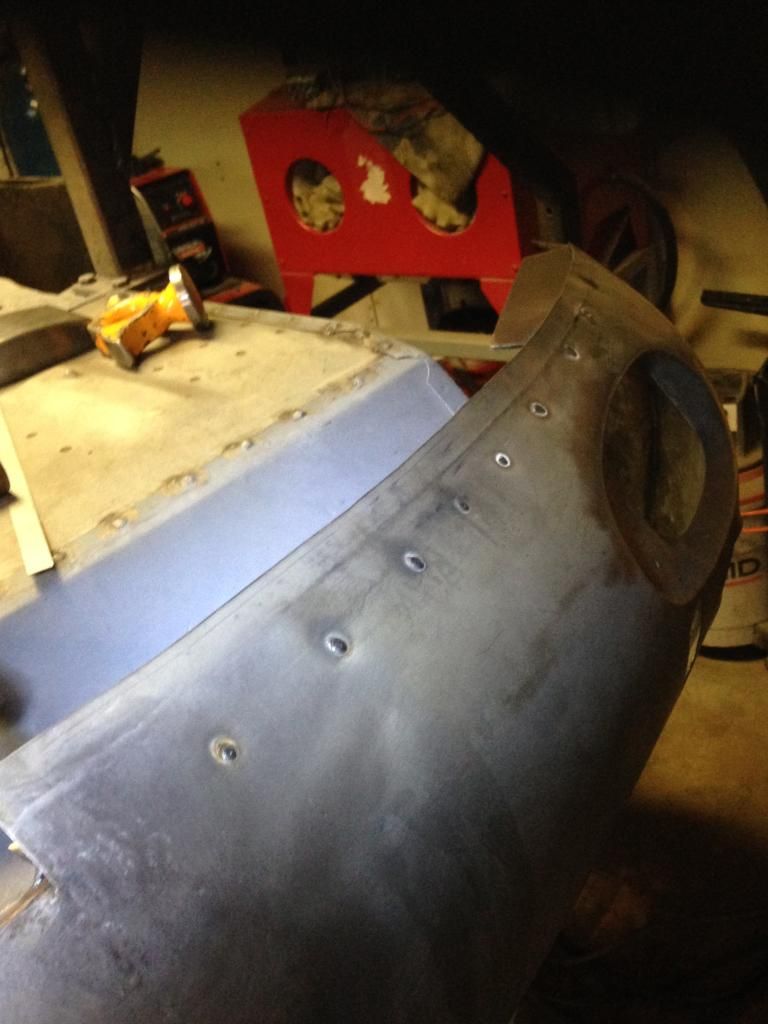
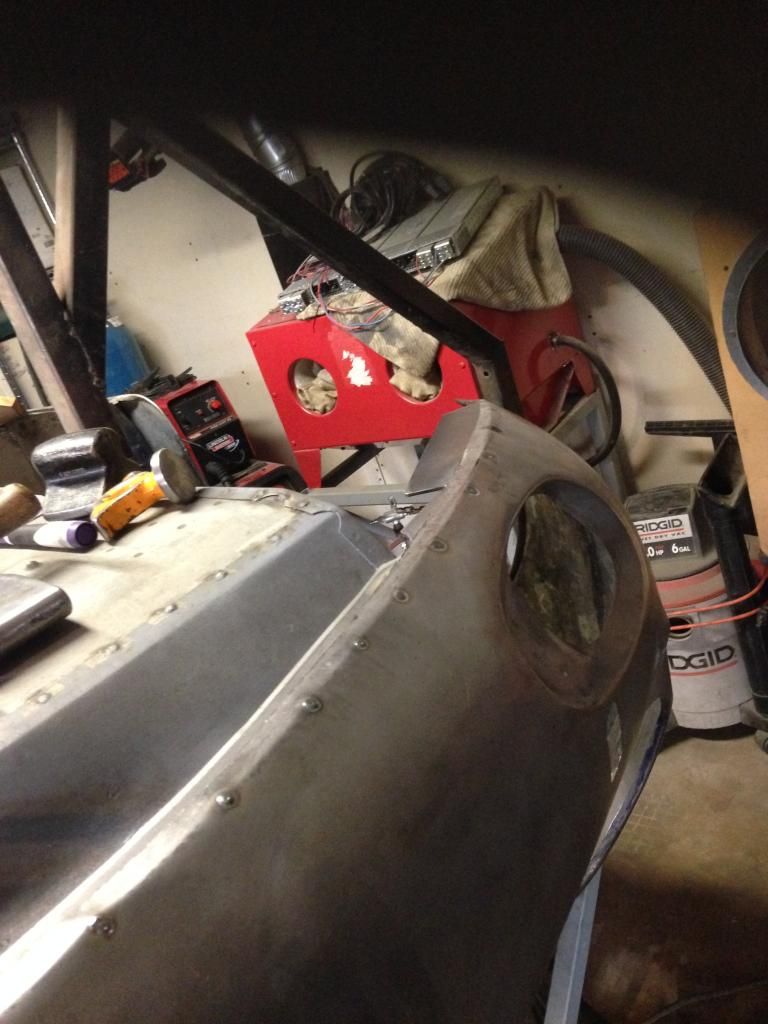
                            The metal template was made from 1/8" steel and welded to the inside two different ways actually. The area outside of the battery box was tacked with MIG. This was difficult to pull off because I had to stick my big helmet in the wheel arch, feel around for a place to weld all upside down of course. Was a good reminder how messy inverted MIG welding can be! Definitely hard to reach but doable for a simple tack.

                            The area in front of the battery box was plug welded. So the usual drill and MIG weld technique but I did use a small drill bit, maybe 3/32" or so.

                            During hammering I tried to back up the plate with a dolly to reduce the stress on the welds. Luckily it held after all that hammering.

                            To remove the piece was another PIA. Stuck my head under there again with a cut off wheel and sliced through the tacks. In the area in front of the battery box, my grinder wouldn't fit. So I sliced through the plug welds to weaken it enough to break off. Here's a picture of the needed slice which can easily be TIG welded close.


                            Click image for larger version

Name:	IMG_6940.JPG
Views:	74
Size:	46.0 KB
ID:	48941


                            This wasn't an easy job, so good questions.
                            Tom

                            Comment


                            • Originally posted by foamcar" post=21695
                              Tom
                              Unbelievable what you had to do to that repro part. And done very well. Not sure what you are referring to about the smile. Is that along the bottom flange? Can take pics of Foam Car, but probably not a good reference.
                              Phil
                              Thanks Don, Justin and Bruce.

                              After all this work, I'm still not happy with the end result. The fog light and vent holes checked out okay when measured vertically from the floor to be even distances. However, now that the nose half is installed I can see that the fog light hole is rotated clockwise relative to the original side. This changes the distance from the fog light hole to the newly formed flange also. So that isn't equal either.

                              Its noticeable in the previous picture, I posted. So you all are too kind for not saying something. That or maybe I'm just to involved to overlook it.

                              Not sure what I'm going to do???? Probably move on to a different area and maybe come back to it after my anger goes away.

                              Whoever is reading this, please think twice about replacing only half a nose. I would have saved time replacing the entire thing. Than I would have two crappy halves, but at least they wouldn't be winking at me. Although the nose Bruce found does look decent. I wish you the best of luck Bruce. We should all learn something from Bruces great stories.

                              Buyer beware for sure!
                              Tom

                              Comment


                              • Bruce
                                Thanks for posting that Porsche nose. Neat second shot. Really looks nice, but as we all know now, looks can be deceiving.

                                Tom
                                Bummer! Looking at your upside down nose I cannot see a difference. Might be time to say: "It's under the bumper - screw it". Or, put a little sticker there noting who made this part. But after the great lengths you have gone for "correctness" I am sure you will come back to it with the "plan", like cut & paste time.

                                Phil

                                Comment

                                Working...
                                X