-
Well, I'm happy to report that the right nose is now on.
Only tacked in every 3" or so, except the center seam is almost fully welded.

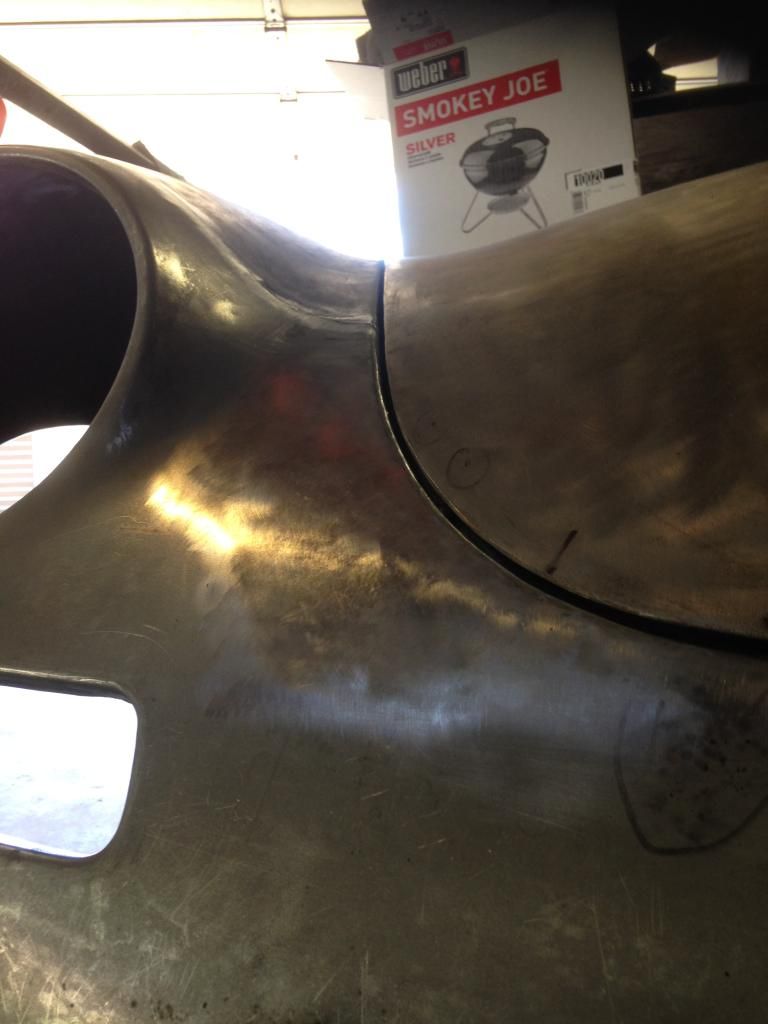
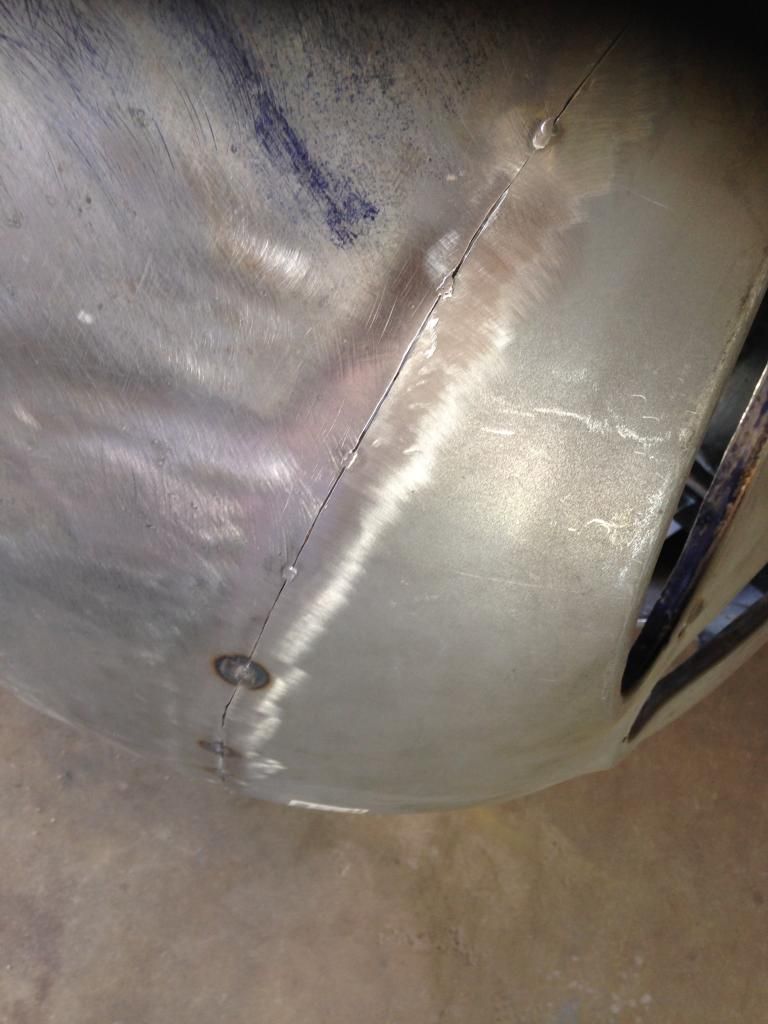
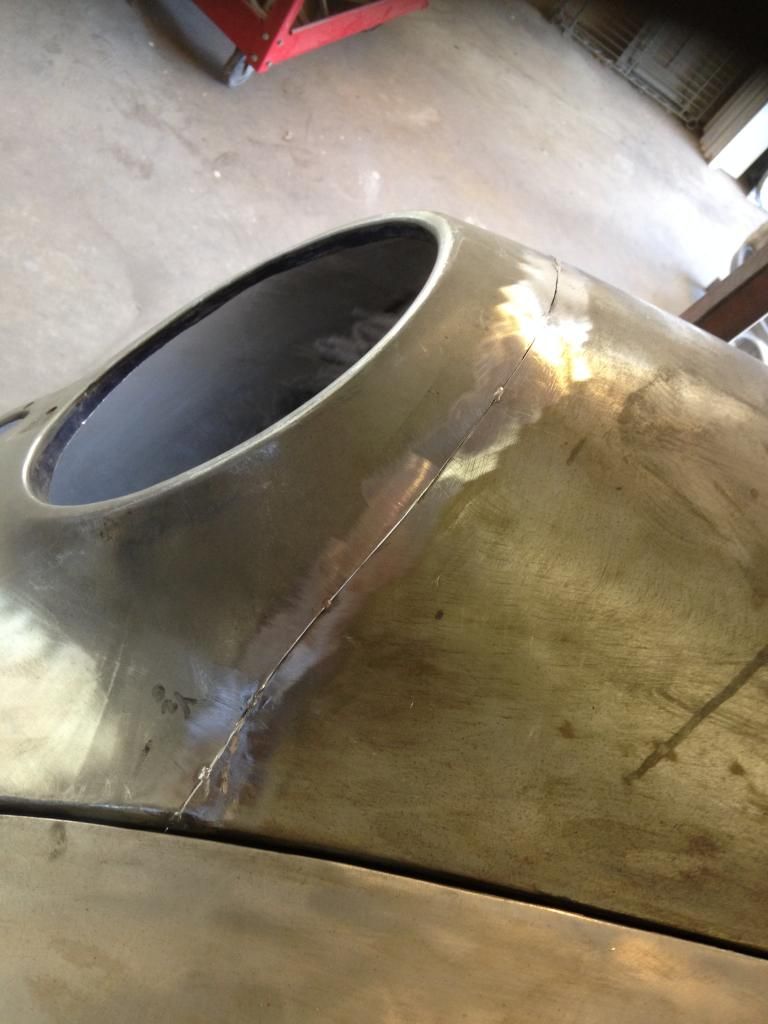
The hood gap is going to need lead of course to make it perfect and I'm still not done manipulating the hood some too. Also the entire lower nose flange needs to be straightened an re-bent when the car is turned upside down. Currently the SM nose is bent about 1" too low. So I need to correct that to match the left nose half.
But....I'm really happy to have the hardest part behind me. The remaining welding will be a walk in the park.
Cheers!
TomLeave a comment:
-
Thanks Phil and Bruce for your help. I really like the idea of using the hole in the dash to check headlight position. I did several left to right measurements all the way back to the quarter windows. After sleeping on it, I'm feeling more and more comfortable with the fit of the replacement nose.
Another thing I did was to install the bumper bracket and shim the nose off of it, so it can't move during welding. Also to make sure in lines up.
Here's my attempt to take a picture and hold a straight edge at the same time. This is the old nose.
The new nose has a much smaller gap that I can live with.
Today I hope to trim and tack this in.
Thanks,
TomLeave a comment:
-
Bruce
Thanks - Also, found the thread where this was discussed on the Registry forum:
http://forum.porsche356registry.org/viewtopic.php?f=1&t=16752&hilit=headlight&sid=a7c1e9fe79a98575a5da66f18f7bd924
PhilLeave a comment:
-
Gosh darn it Phil, I'm lurking here and now I'm busted! I'm supposed to be in the shop, working!
Unfortunately, I am too disorganized with my pictures and too pressed for time for a search, but I have pictures of that common 'wall-eyed' condition of the headlight buckets on original 356s. There is no 'standard' but it seems none were 'cross-eyed.' At least in my limited experience.
Once again, I try to get them even and as close as I can to touching a straight edge all sides the same, but hedge toward no more than 'about' an 1/8"/3mm, assuming that the original build process was supposed to make them even and something unplanned caused the variation.
Unfortunately, the headlight bucket opening winds up being positioned where the other contours dictate, so some 'finagling' is a usual by-product. Add a little here, slice and take away a little there, put filler a bit here AND there to smooth things out. ALWAYS fit the headlight unit that will wind up in that bucket, as you go along!
I have filled any extra gap with lead or 'Aluma-lead' if a discrepancy in fender edge in the horizonatal axis or 'tilt' of the vertical requires it. I also use stainless steel pop-rivets as I work on the buckets and sometimes about 6 of these are enough to just stay with those in deference to better rust-proofing than welding would allow as well a consideration for the next person to need to remove a bucket...as that next guy could be ME!
Please allow that I was trained to "know where to cheat" at the commercial level. It is very difficult to get paid for the time to do every little detail on every restoration (especially on a Coupe), but most of us who know the difference TRY to get as many details correct as we can. I now void my training that "gaps are critical with a light colored car and contours are most critical with a dark colored car" by trying to get both done correctly no matter what color the body will be...but often leave pop-rivets holding the headlight buckets....."If it looks good, it IS good and if you can't see it, it's PERFECT!"
Back to work, under a Speedster. Maybe a short nap while on the creeper....Leave a comment:
-
Tom
Looks like a pretty good fit. I seem to recall Bruce mentioning that the headlight openings point outward slightly. If you lay a straight edge across the center of the lights, it will only touch the inboard rim with maybe 1/8" gap at the outer rim. Maybe this was the protruding buckets he was referring to.
Where are you Bruce?
PhilLeave a comment:
-
Well the bends are now crisp and the nose section has been heavily re-shaped to fit.
It's currently held only by screws under the hood seal. I wanted the nose to fit relaxed before I weld it.
Please have a look at the pictures and impart any words of wisdom before I weld this sucker on.
In my opinion the welding will be easy compared to everything done to make it fit.... Ha ha!


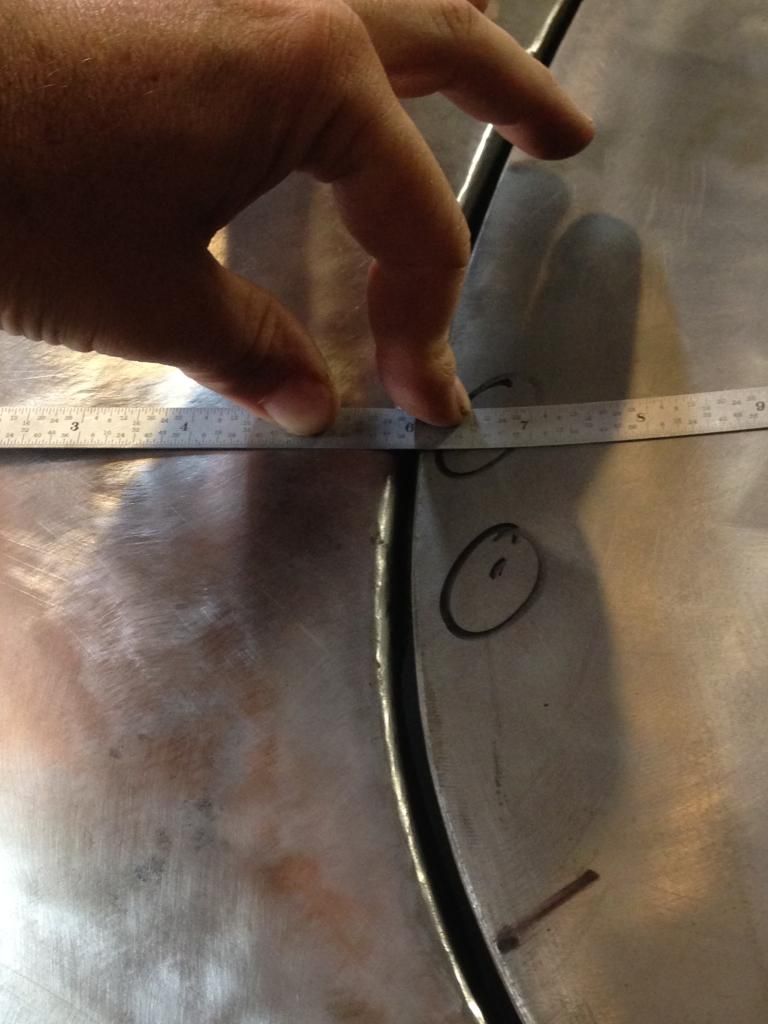
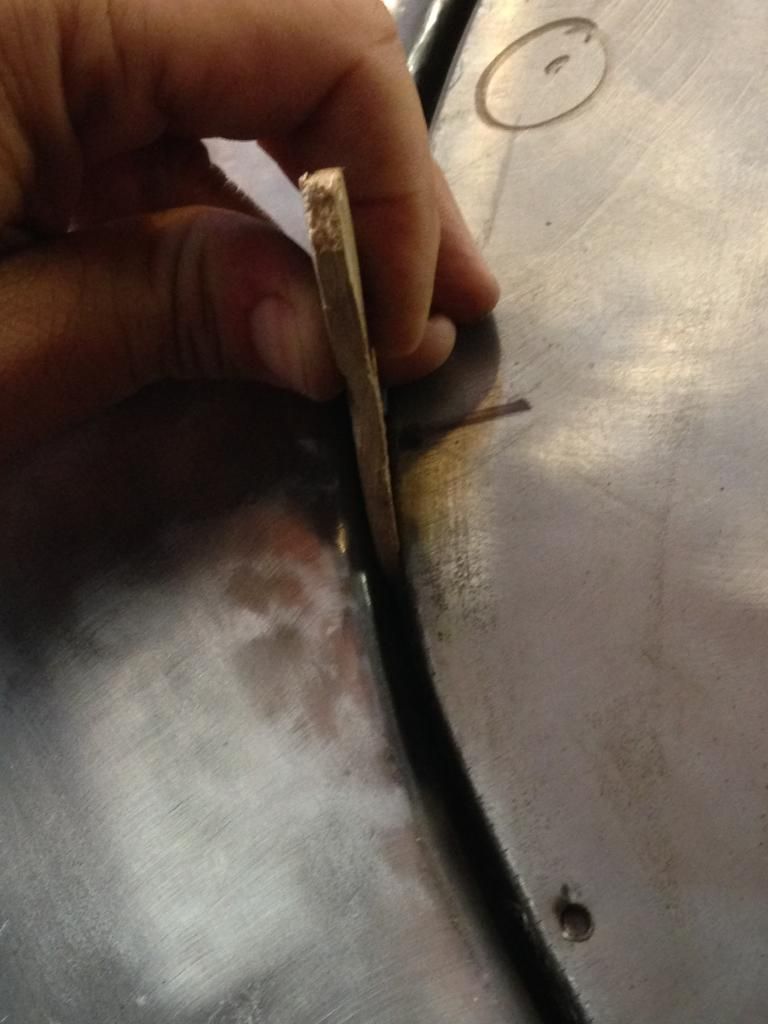
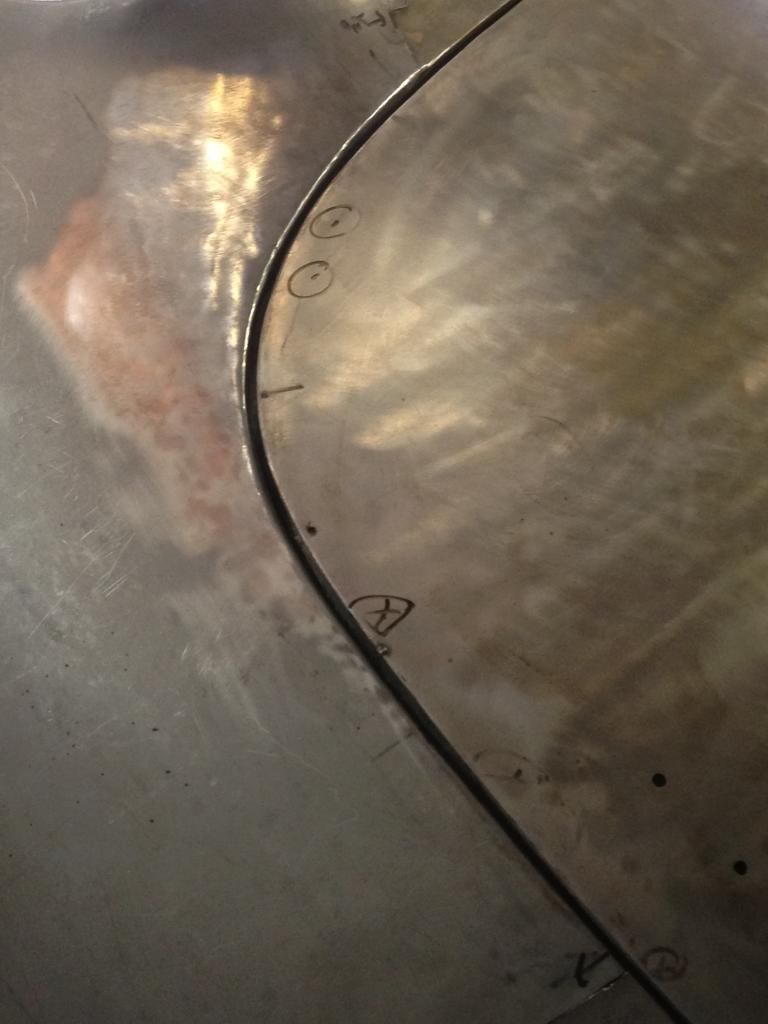
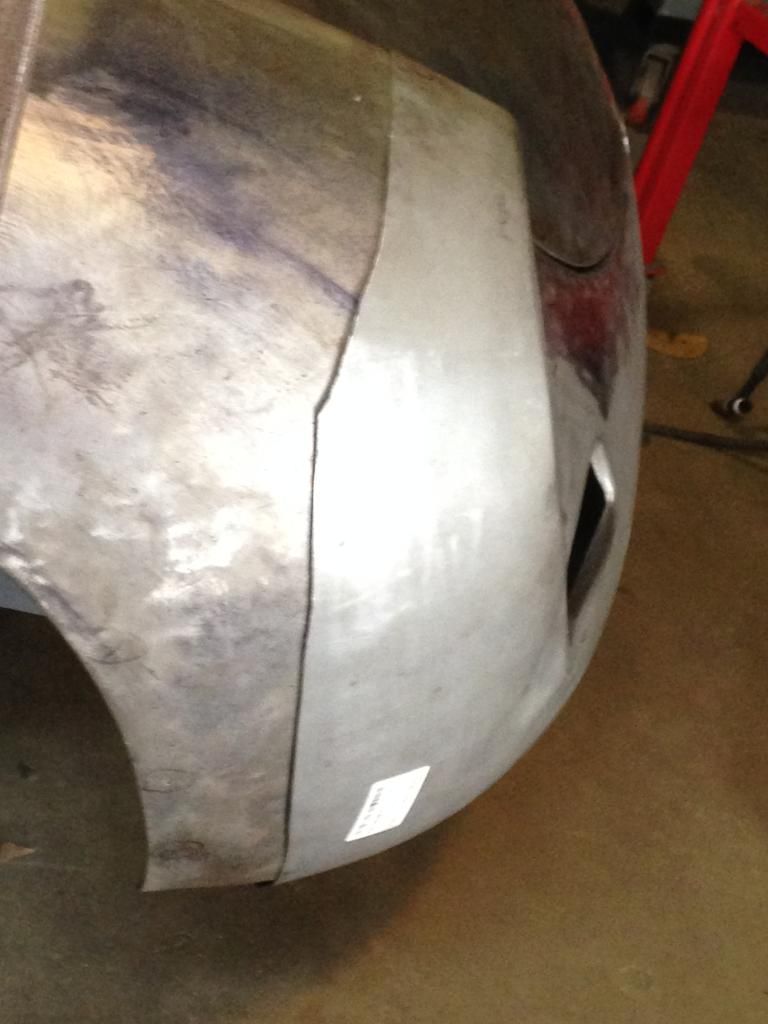
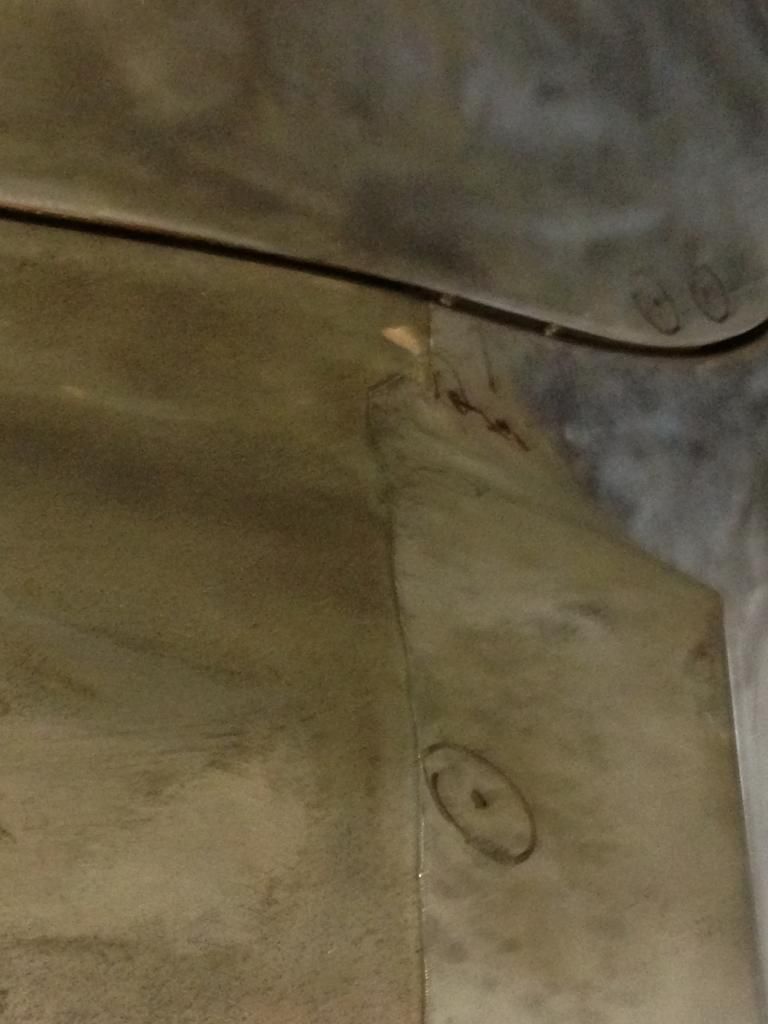
So far, I used a long ruler to check the headlight flange is straight compared to the other side. It's off by about 1/8". Was 1" with the old fender.
I measured the height from floor to the grill openings and they seem right on.
Anything else that would be wise to check?
The bottom flange lip is off and needs to be re-bent. I usually save the last bend until everything is welded and I think I will do that here too when I can rotate the car upside down.
Typing this on my phone so I can elaborate more if anyone is curious about this step. Post me a comment with some tips if you can,
Thanks,
TomLeave a comment:
-
Tom, Great tool and technique! Thank you for sharing that I'll definitely put that one in my mental rolodex! The lines are cleaning up nice! JustinLeave a comment:
-
Tom
Good solution: reshape what you can the cut and weld.
I just bought a Woodward Fab bead roller and am looking forward to playing with it. If I had a lathe I would make a tipping mandrel for it, but looks like I will end up buying one from Hoosier Profile. The step dies will be handy(or would have been I should say).
PhilLeave a comment:
-
Thanks all for the encouragement! Here's another quick progress update regarding the nose attachment flange.
You can see in the photo below that the 80-90 degree factory bend is only about 45 degrees. In this picture the edge closest to the camera is beginning to look correct.

Another custom tool was made to help sharpen this bend. Just two steel blocks welded together on one side with a sheet metal face.
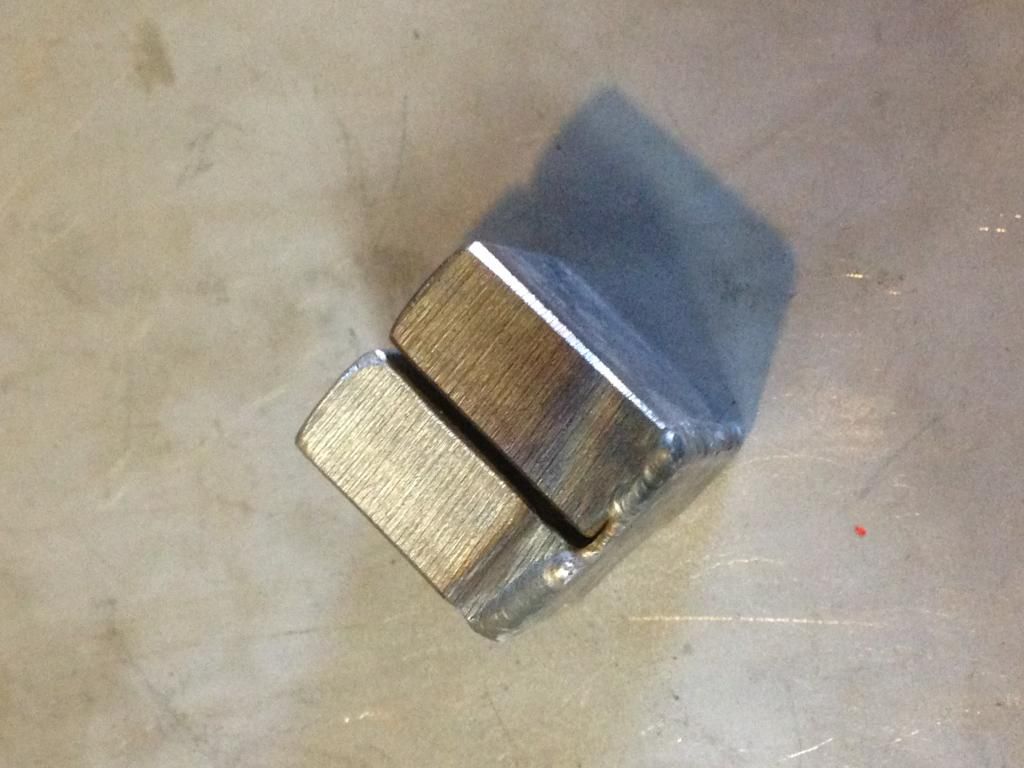
The idea was to hit it while backed up by a dolly which worked ok, until I got to the curved section.
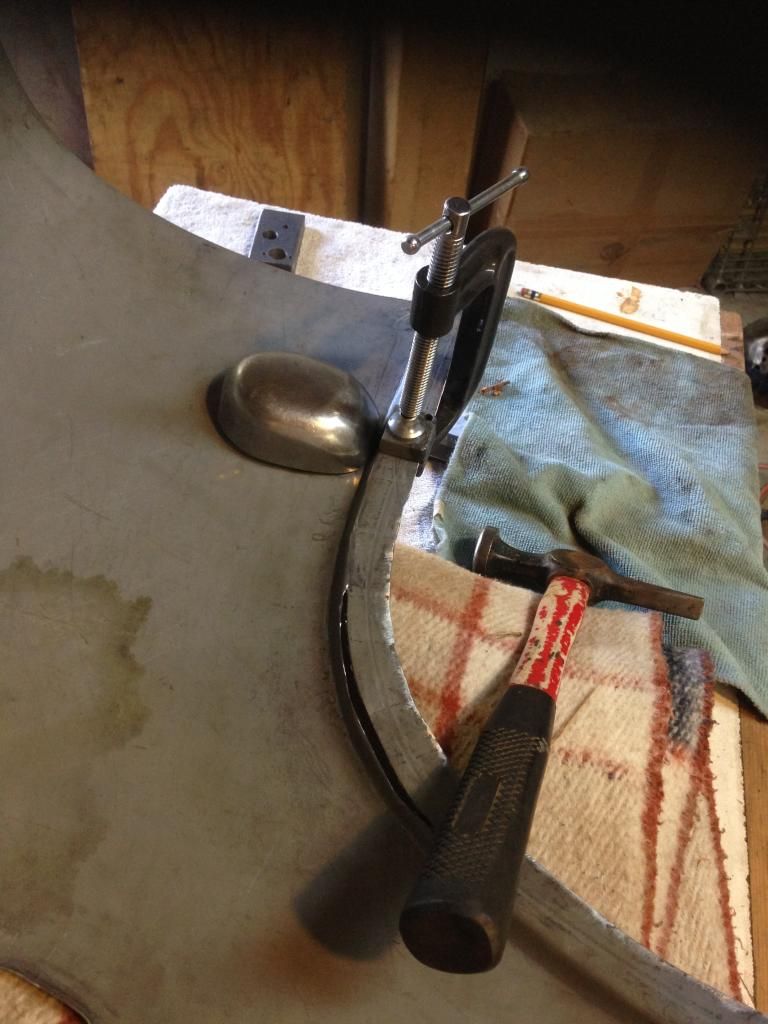
Each pass I started wacking harder using everything I could find to back it up, even my body, but in the end I lost. The metal was moving, but unfortunately it started to deform the nose contour also because the flange wasn't properly supported.
I've always had great respect and admiration for metal shapers and this is a good example why. Perhaps a bead roller or better tools are needed. Or it could be just more experience is needed? I took a step back had a beer and went to plan B.
Actually you can see the above photo that I resorted to the slice method. You can see the large mouth that opened up after the flange was bent almost 90 degrees like it should be.
Rather than practice, practice, practice I knew my welding skill is better than my shaping skill so I want to keep the project moving.
The other nice thing is that it weakens the nose so that I can manipulate it better to the hood perimeter contour.
Next time, I'll show the early test fits....wow lots of work ahead
Thanks for the hood fit compliments. The latch is now installed and functioning which really helps adjust the hood correctly!
Happy fourth, just another day outside the US I guess!Leave a comment:
-
Looking good Tom! Shame you're so pressed for time these days but I have no doubt you'll get it in when you can. Can't wait to see this new nose section go on. The hood seems to lay real nice on there BTW. I'll bet you are so relieved to have the heavy lifting on that repair behind you. Keep up the great progress! JustinLeave a comment:
-
Thanks for posting your progress Tom. Once I get my quarter to lock pillar welded up I will be where you are.
PhilLeave a comment:
-
Tom,
You are doing a great job. I am the same as you have to look for a long time just to be sure. I could have sworn the top location nut behind the fan housing for the starter motor and top r/h engine removal was behind the engine plate shroud. Finally located the nut not under the shroud at all. So at least I can think even a little more on which wrench I last used a few years ago to get to it
Your nose to bonnet lid fitment looks a very difficult job. Look forward to seeing how that comes along.
RoyLeave a comment:


Leave a comment: